Amulet of Loss Quest: Difference between revisions
From Realesta Wiki
No edit summary |
No edit summary |
||
| Line 32: | Line 32: | ||
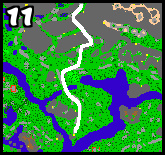
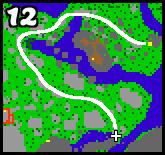
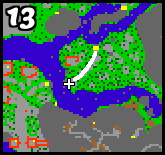
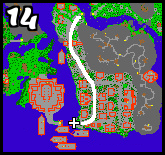
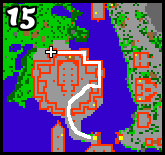
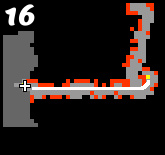
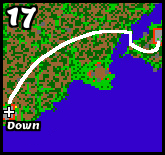
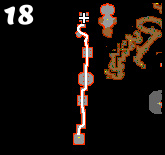
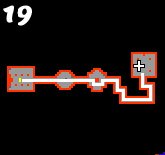
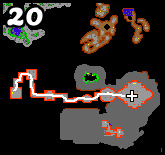
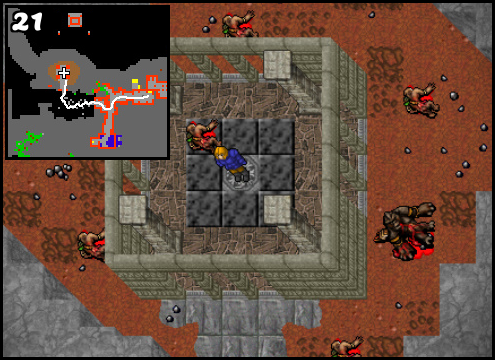
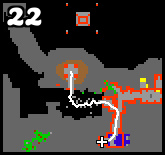
[[File:Amulet of Loss Quest Map9.png]] [[File:Amulet of Loss Quest Map10.png]] [[File:Amulet of Loss Quest Map11.png]] [[File:Amulet of Loss Quest Map12.png]] | [[File:Amulet of Loss Quest Map9.png]] [[File:Amulet of Loss Quest Map10.png]] [[File:Amulet of Loss Quest Map11.png]] [[File:Amulet of Loss Quest Map12.png]] | ||
---- | |||
4). After switch the lever, the wall opened, which will allow you to stand again in the designated place to unlock another access to the door. | |||
[[File:Amulet of Loss Quest.png]] | [[File:Amulet of Loss Quest.png]] | ||
[[Category:Quests]] | [[Category:Quests]] | ||
Revision as of 13:44, 10 February 2025
Name: Amulet of Loss Quest
Location: Rookgaard - Verdia
Reward: Medusa Shield, Amulet of Loss.
Monsters: Rats, Cave Rats, Snakes, Spiders, Poison Spiders, Bugs, Wolfs, Swamp Trolls, Bears, Orcs, Orc Spearmans, Goblins, Centipedes, Skeletons, Ghouls, Sibangs, Kongras, Merlkins, Tarantulas, Stone Golems
Spoiler:
Requirements:
- 30 level
- Verdia Quest
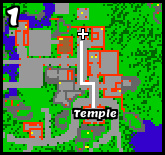
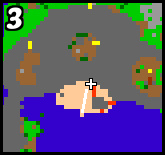
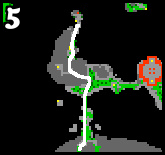
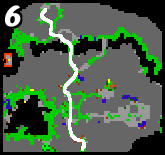
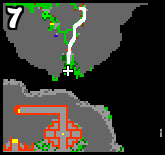
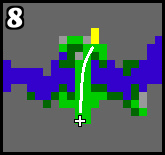
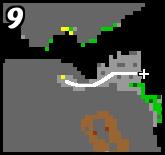
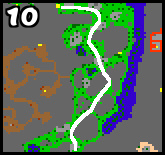
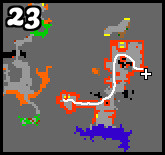
1). Follow the map below for the way to this quest.
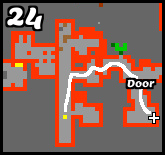
2). Now you have to stand in the designated place to unlock access to the door.
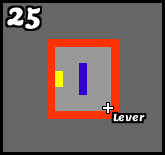
3). Then follow the map to switch the lever.
4). After switch the lever, the wall opened, which will allow you to stand again in the designated place to unlock another access to the door.
