The Underworld Quest: Difference between revisions
From Realesta Wiki
No edit summary |
No edit summary |
||
| Line 11: | Line 11: | ||
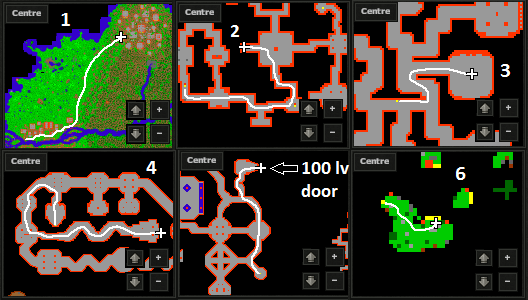
1). | 1). We are starting from [[Port Hope]]. | ||
[[File:The Underworld Quest.png]] | [[File:The Underworld Quest.png]] | ||
[[File:The Underworld Quest2.png]] | |||
---- | |||
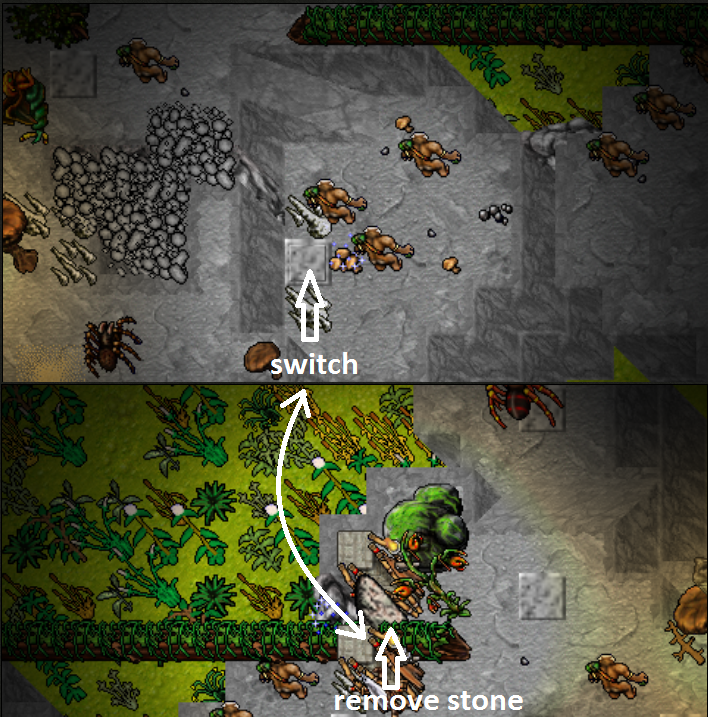
2). Now we have to destroy stone by stepping on switch. | |||
[[File:The Underworld Quest3.png]] | |||
---- | |||
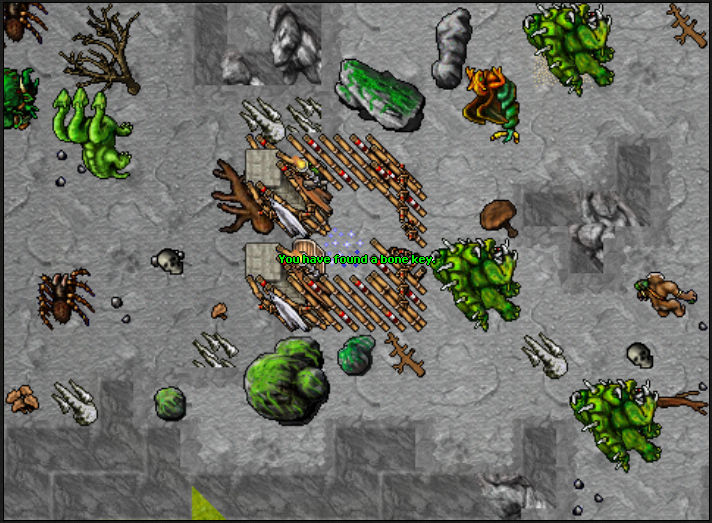
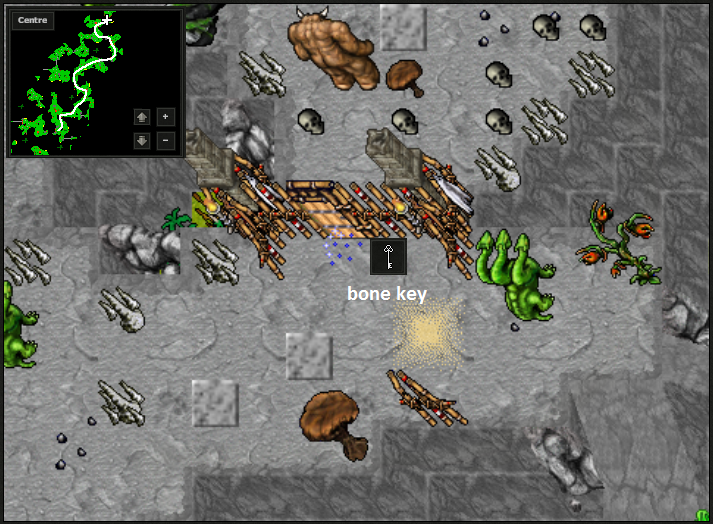
3). After this we need bone key, follow the map. | |||
[[File:The Underworld Quest4.png]] | |||
[[File:The Underworld Quest5.png]] | |||
---- | |||
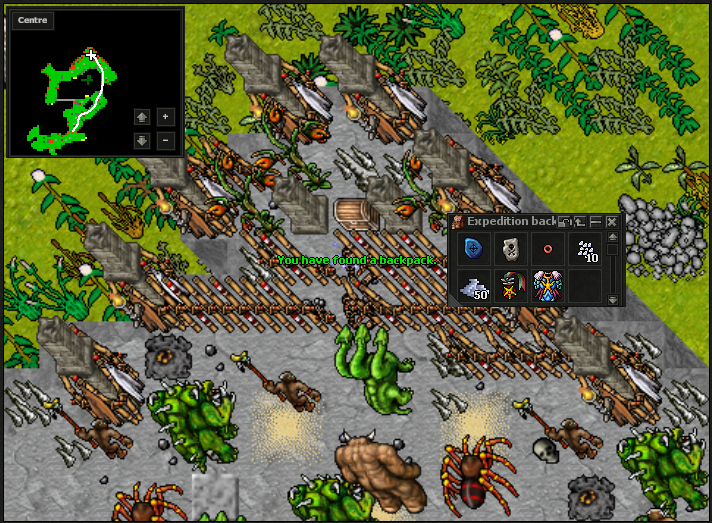
4). When you get the key, go to the door by following the map. | |||
[[File:The Underworld Quest6.png]] | |||
---- | |||
5). Now final part, reward and massacre! | |||
[[File:The Underworld Quest7.png]] | |||
Latest revision as of 10:48, 17 January 2025
Name: The Underworld Quest
Location: Port Hope
Reward: Grandmaster's Raiment, Medal of Honour, 5,000 Gold Coin, Ring of Healing, 10 Small Diamonds, 30x Sudden Death Runes & Ultimate Healing Runes.
Monsters: Spit Nettles, Centipedes, Carniphilas, Tarantulas, Kongras, Merlkins, Sibangs, Giant Spiders, Bog Raiders, Hydras, Behemoths, Serpent Spawns, Plaguesmiths, Juggernauts, Massacres.
Spoiler:
Requirements:
- 100 level
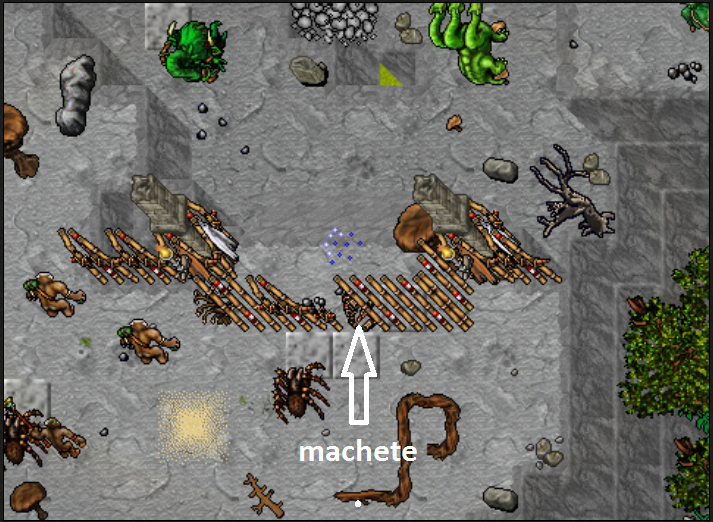
 Machete
1). We are starting from Port Hope.
2). Now we have to destroy stone by stepping on switch.
3). After this we need bone key, follow the map.
4). When you get the key, go to the door by following the map.
5). Now final part, reward and massacre!
