Amulet of Loss Quest: Difference between revisions
No edit summary |
No edit summary |
||
| (9 intermediate revisions by the same user not shown) | |||
| Line 1: | Line 1: | ||
<b>Name:</b> Amulet of Loss Quest</br> | <b>Name:</b> Amulet of Loss Quest</br> | ||
<b>Location:</b> [[Rookgaard]] - [[Verdia]]</br> | <b>Location:</b> [[Rookgaard]] - [[Verdia]].</br> | ||
<b>Reward:</b> [[Medusa Shield]], [[Amulet of Loss]].</br> | <b>Reward:</b> [[Medusa Shield]], [[Amulet of Loss]].</br> | ||
<b>Monsters:</b> [[Rat]]s, [[Cave Rat]]s, [[Snake]]s, [[Spider]]s, [[Poison Spider]]s, [[Bug]]s, [[Wolf]]s, [[Swamp Troll]]s, [[Bear]]s, [[Orc]]s, [[Orc Spearman]]s, [[Goblin]]s, [[Centipede]]s, [[Skeleton]]s, [[Ghoul]]s, [[Sibang]]s, [[Kongra]]s, [[Merlkin]]s, [[Tarantula]]s, [[Stone Golem]]s, [[Lizard Sentinel]]s, [[Lizard Snakecharmer]]s, [[Lizard Templar]]s, [[Dragon]]s. | <b>Monsters:</b> [[Rat]]s, [[Cave Rat]]s, [[Snake]]s, [[Spider]]s, [[Poison Spider]]s, [[Bug]]s, [[Wolf]]s, [[Swamp Troll]]s, [[Bear]]s, [[Orc]]s, [[Orc Spearman]]s, [[Goblin]]s, [[Centipede]]s, [[Skeleton]]s, [[Ghoul]]s, [[Sibang]]s, [[Kongra]]s, [[Merlkin]]s, [[Tarantula]]s, [[Stone Golem]]s, [[Lizard Sentinel]]s, [[Lizard Snakecharmer]]s, [[Lizard Templar]]s, [[Dragon]]s. | ||
| Line 50: | Line 50: | ||
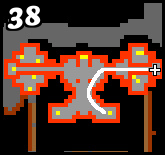
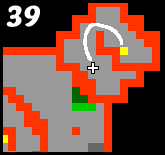
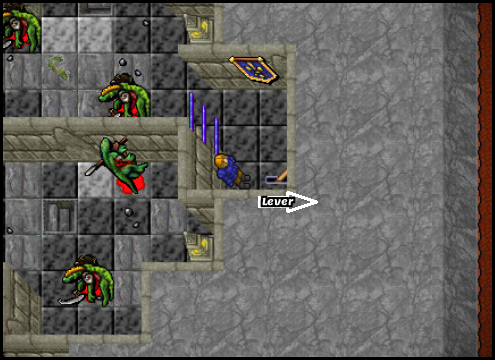
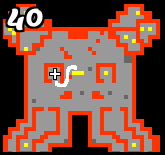
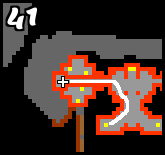
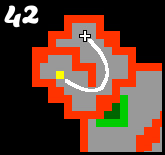
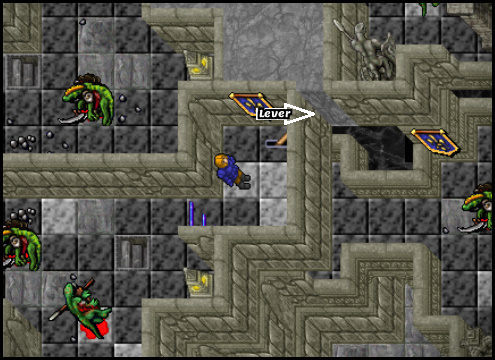
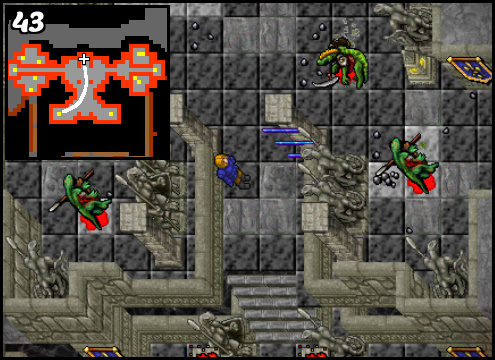
6). The next mission will be to open three levers (in order) to open the energy wall.</br> | 6). The next mission will be to open three levers (in order) to open the energy wall.</br> | ||
<span style="font-size:140%;"><b> | <span style="color: red;">Remember, you have to switch 3 levers (in order).</span></br> | ||
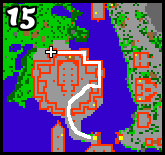
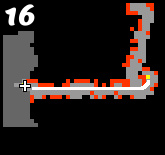
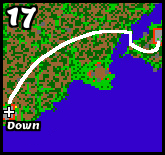
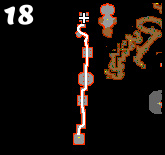
<span style="font-size:140%;"><b>First lever:</b></span></br> | |||
[[File:Amulet of Loss Quest Map20.png]] [[File:Amulet of Loss Quest Map21.png]] [[File:Amulet of Loss Quest Map22.png]] [[File:Amulet of Loss Quest Map233.png]] | [[File:Amulet of Loss Quest Map20.png]] [[File:Amulet of Loss Quest Map21.png]] [[File:Amulet of Loss Quest Map22.png]] [[File:Amulet of Loss Quest Map233.png]] | ||
| Line 59: | Line 62: | ||
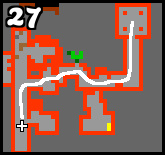
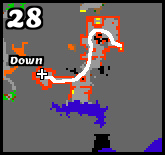
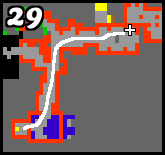
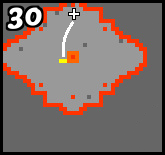
<span style="font-size:140%;"><b> | <span style="font-size:140%;"><b>Second lever:</b></span></br> | ||
[[File:Amulet of Loss Quest Map25.png]] [[File:Amulet of Loss Quest Map26.png]] [[File:Amulet of Loss Quest Map27.png]] | [[File:Amulet of Loss Quest Map25.png]] [[File:Amulet of Loss Quest Map26.png]] [[File:Amulet of Loss Quest Map27.png]] | ||
| Line 67: | Line 70: | ||
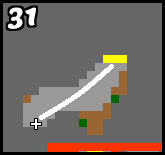
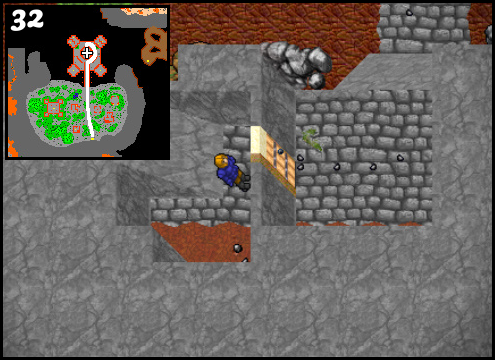
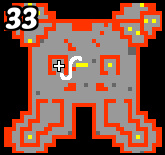
<span style="font-size:140%;"><b> | <span style="font-size:140%;"><b>Third lever:</b></span></br> | ||
[[File: | [[File:Amulet of Loss Quest Map30.png]] [[File:Amulet of Loss Quest Map31.png]] [[File:Amulet of Loss Quest Map32.png]] | ||
[[File:Amulet of Loss Quest Map3333.png]] | |||
*Pull the lever to the right and return to the main room. | |||
---- | ---- | ||
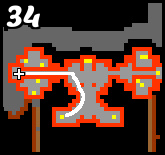
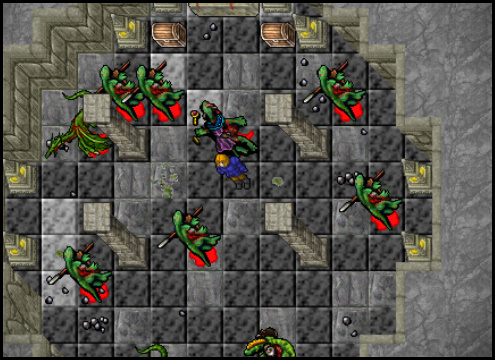
7). | 7). If you have opened all the levers, the energy wall should open. Kill all the monsters in the main room and collect the rewards. | ||
[[File:Amulet of Loss Quest Map34.png]] [[File:Amulet of Loss Quest Map35.png]] | |||
[[Category:Quests]] | [[Category:Quests]] | ||
Latest revision as of 08:08, 13 February 2025
Name: Amulet of Loss Quest
Location: Rookgaard - Verdia.
Reward: Medusa Shield, Amulet of Loss.
Monsters: Rats, Cave Rats, Snakes, Spiders, Poison Spiders, Bugs, Wolfs, Swamp Trolls, Bears, Orcs, Orc Spearmans, Goblins, Centipedes, Skeletons, Ghouls, Sibangs, Kongras, Merlkins, Tarantulas, Stone Golems, Lizard Sentinels, Lizard Snakecharmers, Lizard Templars, Dragons.
Spoiler:
Requirements:
- 30 level
- Verdia Quest
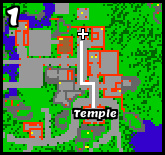
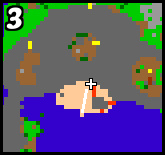
1). Follow the map below for the way to this quest.
2). Now you have to stand in the designated place to unlock access to the door.
3). Then follow the map to switch the lever.
4). After switch the lever, the wall opened, which will allow you to stand again in the designated place to unlock another access to the door.
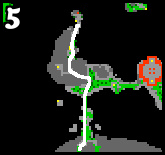
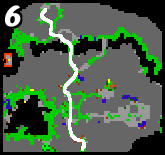
5). You can already go through the main target door. Turn back a few floors higher and follow the map.
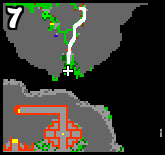
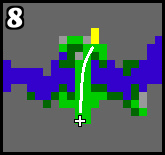
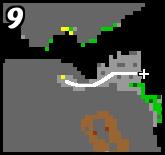
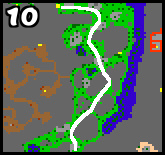
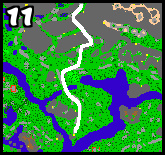
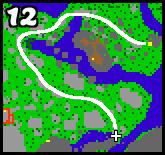
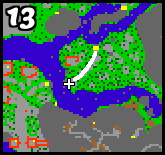
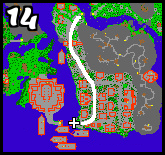
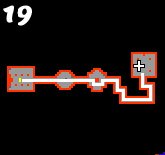
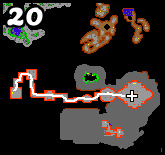
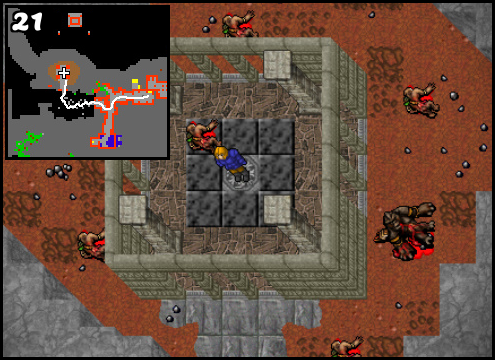
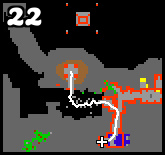
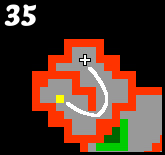
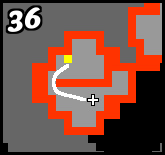
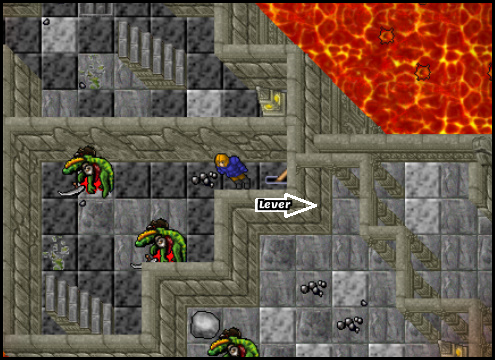
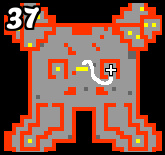
6). The next mission will be to open three levers (in order) to open the energy wall.
Remember, you have to switch 3 levers (in order).
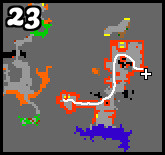
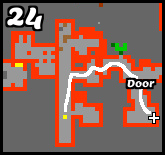
First lever:
- Pull the lever to the right and return to the main room.
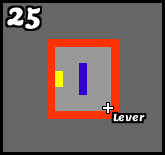
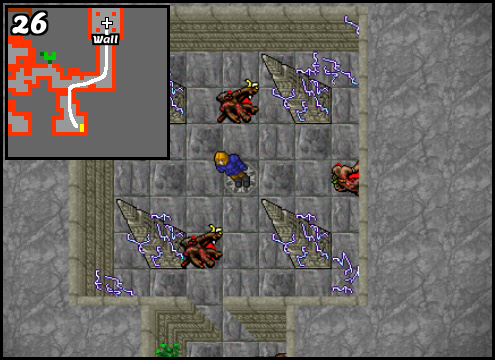
- Pull the lever to the right and return to the main room.
- Pull the lever to the right and return to the main room.
7). If you have opened all the levers, the energy wall should open. Kill all the monsters in the main room and collect the rewards.
