The Savanna Siege
| Pharaonic Sandspectrum | Health | Experience Reward | Requirements | Items | Location |
|---|---|---|---|---|---|

|
50,000 | 531,530 |
- 120 level |
Ankramesh |
- "The Savanna Siege" in Ankramesh (Savanna Surface).
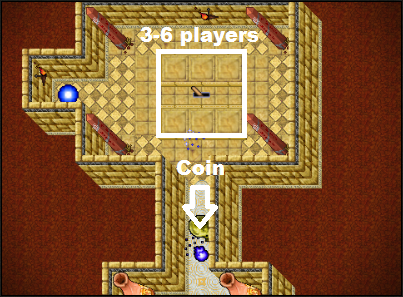
- To enter there you need one Realesta Coin and place one on coal basin.
- This one requires 120 level and a team min 3 - max 6 players.
- You have 3 minutes to take reward in the reward room, otherwise you will be kicked and lose reward. You can do this quest once a day.
- You need Golden Account in order to enter the Siege.
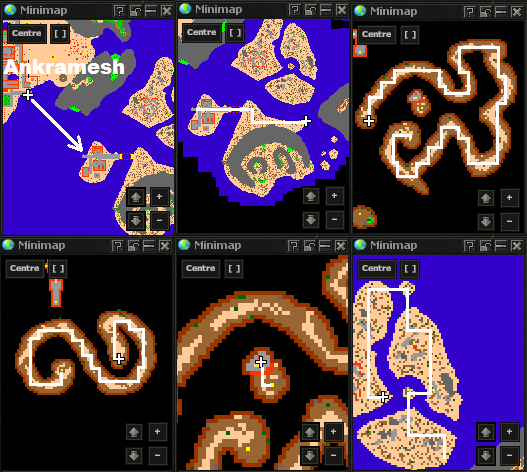
1). Start from Ankramesh, follow the map and use Realesta Coin on the empty coal basin.
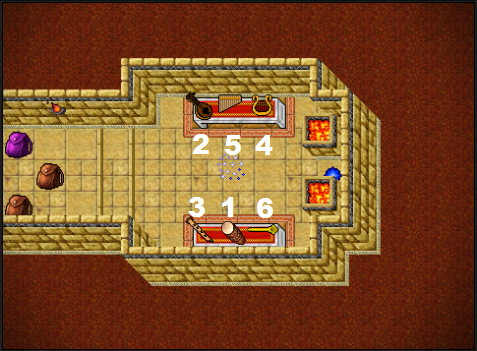
2). In the first room we have to play the instruments in the right order as in the picture below:
3). This process will turn on the blinking bridge. We're trying to get through it.
4). We are heading to the northern chamber. Here, one person needs to click on 6 sarcophaguses that respawn monsters (Demon Skeletons, Ancient Scarabs, Dragons, Ancient Lions, Ancient Scorpions, Desert Spiders and always one The Pharaoh.
Remember that you can only leave the room once all the monsters are defeated.
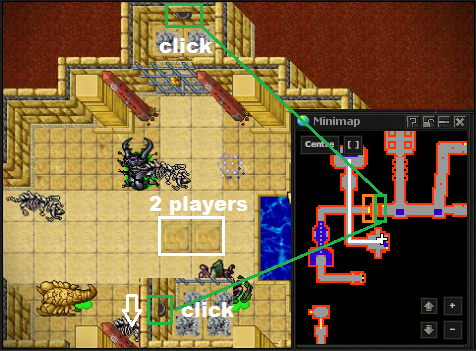
5). Now we are heading to the southern chamber to light the wall lamps (Switches that open the walls marked green). Two players stand on the switches marked in white, while the third player lights two wall lamps.
Important! Don't enter the blue flames marked orange before completing the this task, because we have only one minute before the sarcophaguses reset, and we would have to activate them again.
6). Now we can pass through the blue flames and head to the northern chamber.
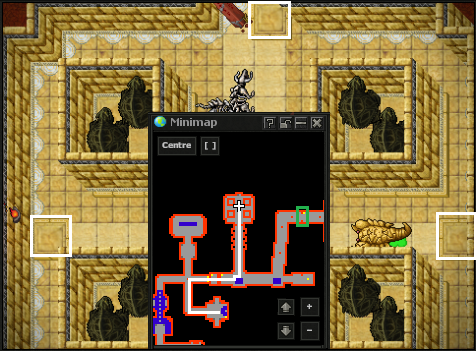
Here, three players need to stand on the tiles marked in white. This process will open the walls marked in green on the image below.
Important! In this chamber, we will be trapped, and we need to survive for a minute against the Hellish Tortoise.
7). Now we are heading to the northeast chamber.
Important! We have 5 minutes to reach it from the moment we stood on the three switches in the previous task.
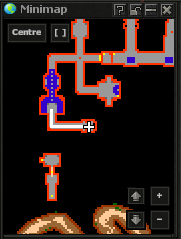
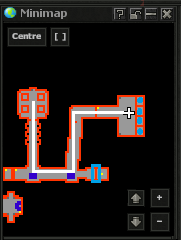
Here, all we need to do is quickly defeat all the monsters in the 4 rooms marked in blue because when the monsters are standing on the switches inside, they block the wall marked with a blue square.
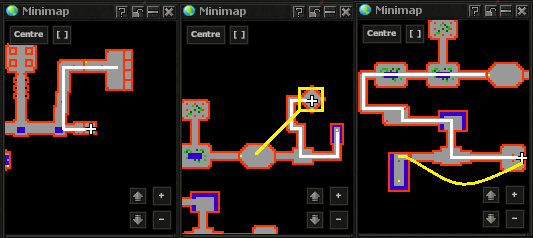
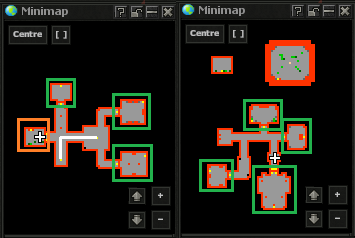
8). Now follow the maps below.
Beware of the teleporter that teleports you to the center of the chamber with a large number of monsters simultaneously, which must be killed in order to escape.
9). The final task is to clear 7 chambers marked green with monsters inside, and each member of the team must complete this task.
Important! Once you enter one of the chambers, you cannot leave until every monster has been defeated. If you are done go to the chamber marked orange which teleport to the boss.
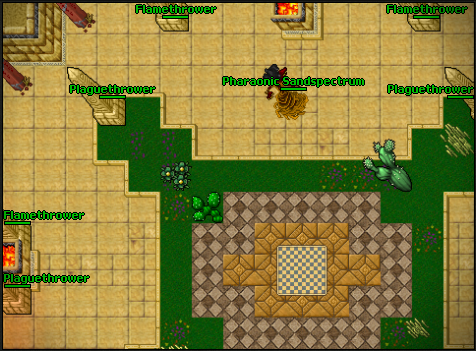
10). In the boss room, there is no complicated mechanics, you just need to be careful of the shooting towers and, of course, the boss's damage.
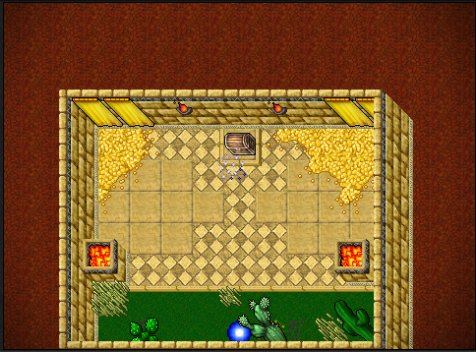
11). When you defeat the boss, you will be teleported to the reward room.
