The Assassin Siege: Difference between revisions
No edit summary |
No edit summary |
||
| Line 15: | Line 15: | ||
- [[Ankramesh Acces Quest]]</br> | - [[Ankramesh Acces Quest]]</br> | ||
- [[Realesta Coin]] (per player) | - [[Realesta Coin]] (per player) | ||
| style="vertical-align:middle; color:#C1C1C1;" | [[File:Platinum Coin.png]] [[Platinum Coin]], [[File:White Pearl.png]] [[White Pearl]], [[File:Black Pearl.png]] [[Black Pearl]], [[File:Small Ruby.png]] [[Small Ruby]], [[File:Protection Amulet.png]] [[Protection Amulet]], [[File:Plate Armor.png]] [[Plate Armor]], [[File:Plate Legs.png]] [[Plate Legs]], [[File:Dark Helmet.png]] [[Dark Helmet]], [[File:Yellow Spell Wand.png]] [[Yellow Spell Wand]], [[File:Warrior's Sword.png]] [[Warrior's Sword]], [[File:War Hammer.png]] [[War Hammer]], [[File:Knight Axe.png]] [[Knight Axe]], [[File:Dragon Hammer.png]] [[Dragon Hammer]], [[File:Guardian Shield.png]] [[Guardian Shield]], [[File:Patched Boots.png]] [[Patched Boots]], [[File:Venomspitter Bow.png]] [[Venomspitter Bow]], [[File:Obsidian Knife.png]] [[Obsidian Knife]], [[File:Gold Ingot.png]] [[Gold Ingot]], [[File:Silencing Dagger.png]] [[Silencing Dagger]], [[File:Warrior Helmet.png]] [[Warrior Helmet]], [[File:Knight Armor.png]] [[Knight Armor]], [[File:Ancient Tiara.png]] [[Ancient Tiara]] | | style="vertical-align:middle; color:#C1C1C1;" | [[File:Platinum Coin.png]] [[Platinum Coin]], [[File:White Pearl.png]] [[White Pearl]], [[File:Black Pearl.png]] [[Black Pearl]], [[File:Small Ruby.png]] [[Small Ruby]], [[File:Protection Amulet.png]] [[Protection Amulet]], [[File:Plate Armor.png]] [[Plate Armor]], [[File:Plate Legs.png]] [[Plate Legs]], [[File:Dark Helmet.png]] [[Dark Helmet]], [[File:Yellow Spell Wand.png]] [[Yellow Spell Wand]], [[File:Warrior's Sword.png]] [[Warrior's Sword]], [[File:War Hammer.png]] [[War Hammer]], [[File:Knight Axe.png]] [[Knight Axe]], [[File:Dragon Hammer.png]] [[Dragon Hammer]], [[File:Guardian Shield.png]] [[Guardian Shield]], [[File:Patched Boots.png]] [[Patched Boots]], [[File:Venomspitter Bow.png]] [[Venomspitter Bow]], [[File:Obsidian Knife.png]] [[Obsidian Knife]], [[File:Gold Ingot.png]] [[Gold Ingot]], [[File:Silencing Dagger.png]] [[Silencing Dagger]], [[File:Warrior Helmet.png]] [[Warrior Helmet]], [[File:Knight Armor.png]] [[Knight Armor]], [[File:Ancient Tiara.png]] [[Ancient Tiara]]. | ||
| style="vertical-align:middle; color:#C1C1C1;" | [[Ankramesh]] | | style="vertical-align:middle; color:#C1C1C1;" | [[Ankramesh]] | ||
Revision as of 17:00, 8 January 2025
| The Ghostsaw | Health | Experience Reward | Requirements | Items | Location |
|---|---|---|---|---|---|

|
2,000 | 44,770 |
- 30 level |
Ankramesh |
- This siege is named "The Assassin Siege" you can find it west from Ankramesh city, to enter there you need one Realesta Coin and place one on coal basin.
- This one requires 30 level, a team with min 3 - max 6 players.
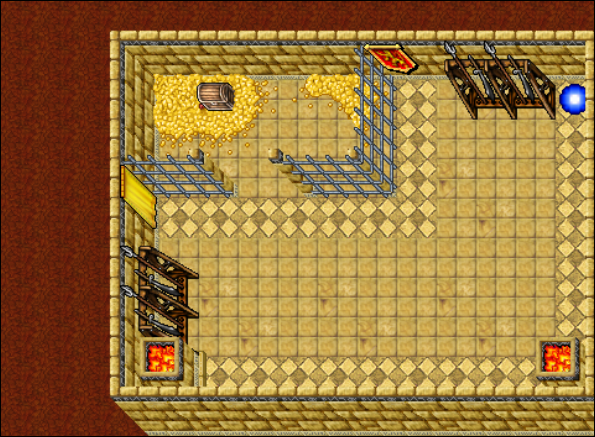
- You have 3 minutes to take reward in the reward room, otherwise you will be kicked and lose reward.
- You need Golden Account in order to enter the Siege.
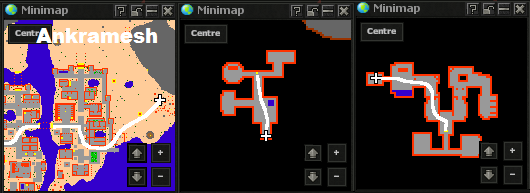
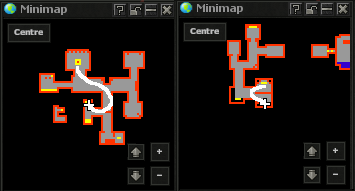
1). Start from Ankramesh and follow the map:
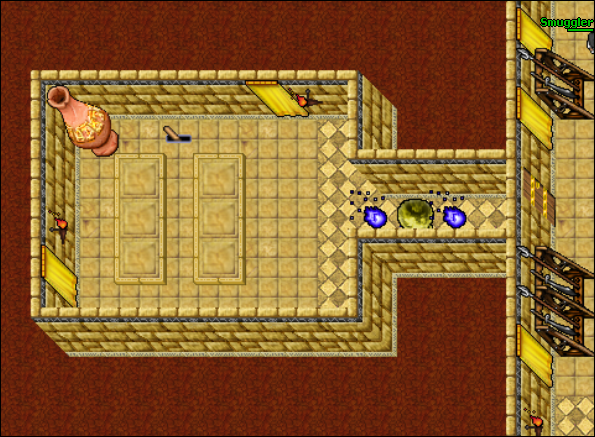
2). Use the Realesta Coin and pull the lever with 3-6 peoples.
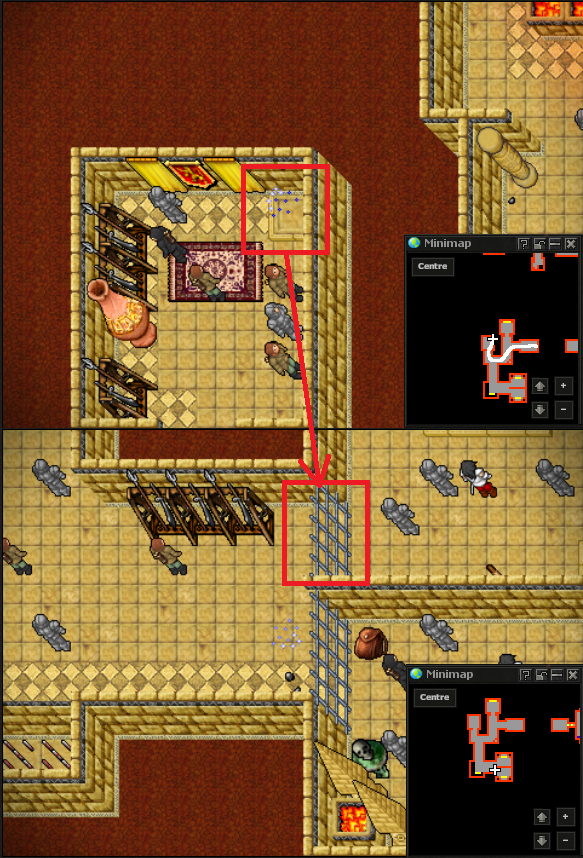
3). One person must stand here the rest players go through the bars and stay on tile behind the bars.
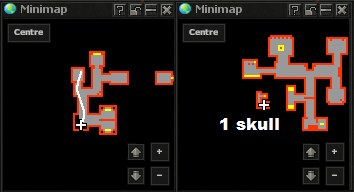
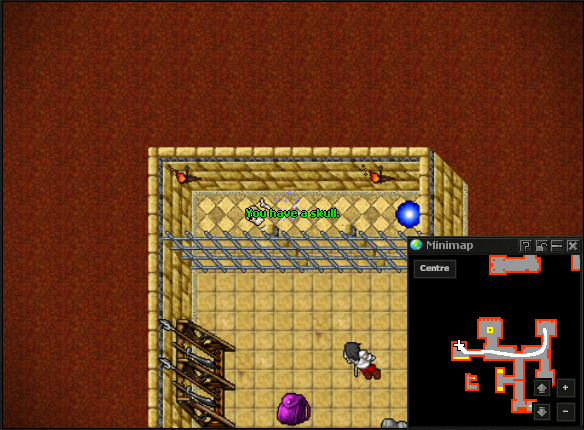
4). Take first skull so follow the map below:
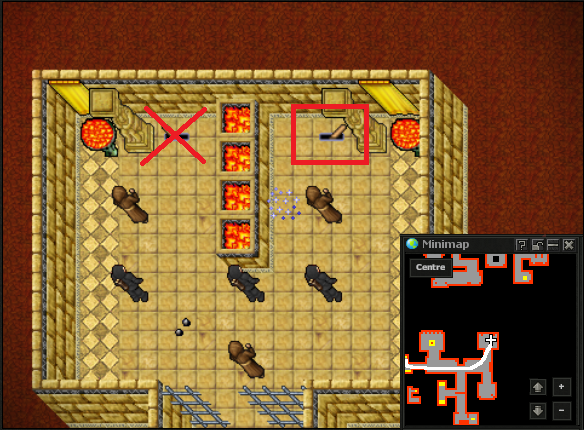
5). Pull the right lever: (If you pull wrong one it will spawn some monsters)
6). Take second skull:
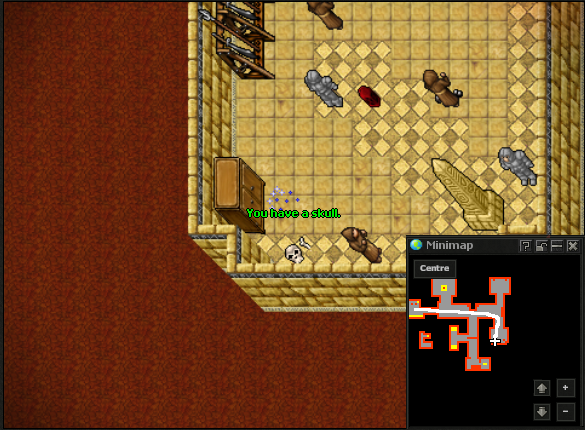
7). Take third skull and go to skull room so follow the map:
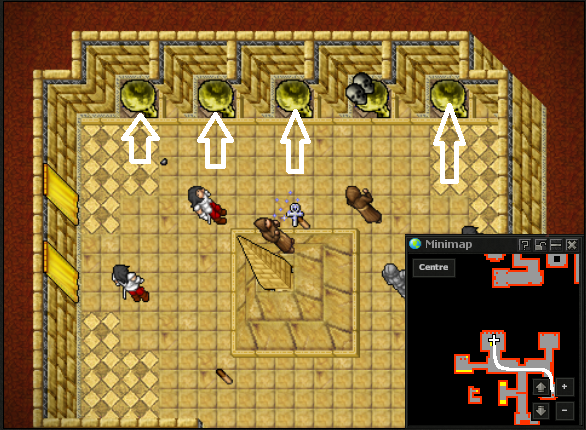
8). Put your 3 skulls on empty coal basin and re-stack skulls that are already lying there, this should remove bars floor up.
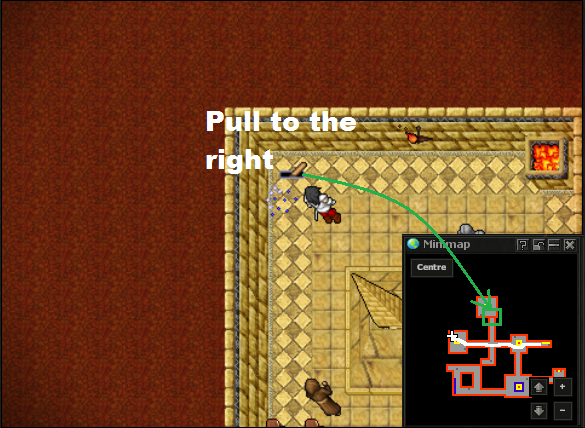
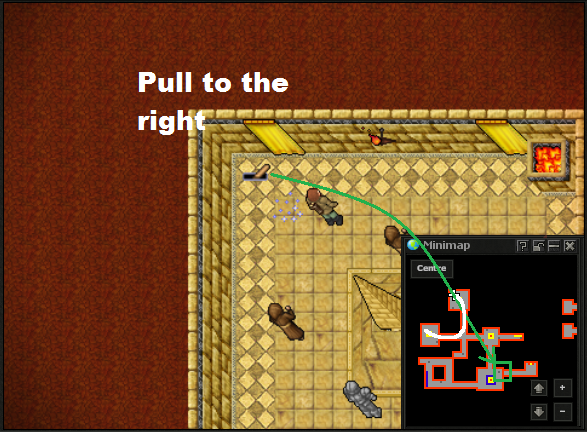
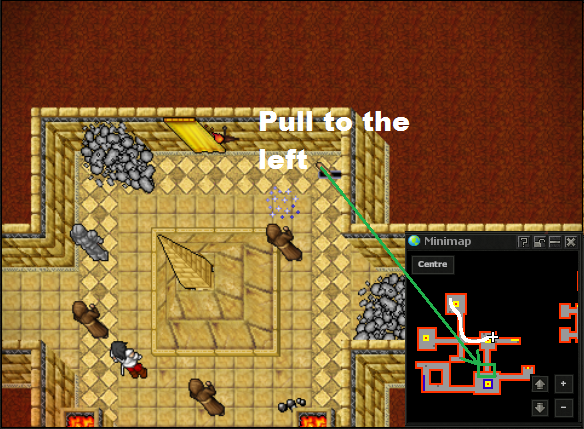
9). Follow the map and pull the levers in the order like on the screens, it will destroy the walls marked green:
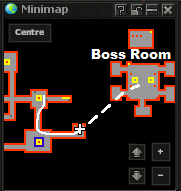
10). Follow the map stright to the boss room:
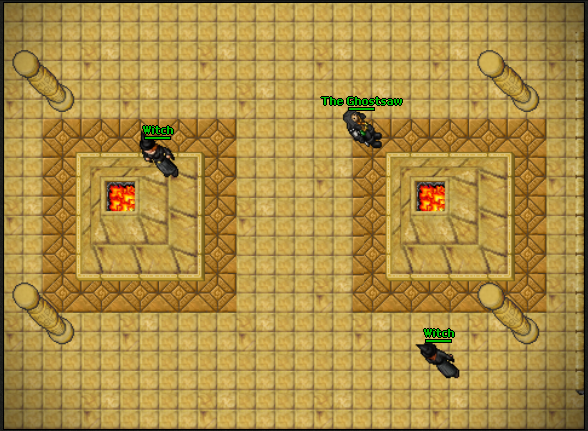
- The mechanics on this boss is that he jumps into chambers on the right, left, south sides to hide behind his guards.
