The Dragon Quest: Difference between revisions
No edit summary |
No edit summary |
||
| Line 21: | Line 21: | ||
[[File: Dragon0.png]] | [[File: Dragon0.png]] | ||
[[File: Dragon1.png]] | [[File: Dragon1.png]] | ||
---- | |||
2) We appear in the fortress of elves, there are a lot of them there, a very good place to gain levels. If we want, we can hook up with the quest, which is accessed by the stairs to the top. If we skip, we go directly down, following the white line on the minimap. | 2) We appear in the fortress of elves, there are a lot of them there, a very good place to gain levels. If we want, we can hook up with the quest, which is accessed by the stairs to the top. If we skip, we go directly down, following the white line on the minimap. | ||
| Line 27: | Line 29: | ||
[[File: Dragon3.png]] | [[File: Dragon3.png]] | ||
[[File: Dragon4.png]] | [[File: Dragon4.png]] | ||
---- | |||
3) We reach the gates of hell, after crossing which, we will reach the isle of hell. Remember, sometimes appearances are deceptive! <br> | 3) We reach the gates of hell, after crossing which, we will reach the isle of hell. Remember, sometimes appearances are deceptive! <br> | ||
| Line 36: | Line 40: | ||
[[File: Dragon5.png]] | [[File: Dragon5.png]] | ||
[[File: Dragon6.png]] | [[File: Dragon6.png]] | ||
---- | |||
4) I highly recommend owning a [[Stealth Ring]] from this point on, as it is indispensable in this situation to avoid a quick appearance in the [[Temple]]. We follow the white line until we encounter volcanic rocks. | 4) I highly recommend owning a [[Stealth Ring]] from this point on, as it is indispensable in this situation to avoid a quick appearance in the [[Temple]]. We follow the white line until we encounter volcanic rocks. | ||
| Line 41: | Line 47: | ||
[[File: Dragon7.png]] | [[File: Dragon7.png]] | ||
[[File: Dragon8.png]] | [[File: Dragon8.png]] | ||
---- | |||
5) Time plays a significant role here, because the moment your [[Stealth Ring]] stops keeping you invisible, it gets deadly.<br> | 5) Time plays a significant role here, because the moment your [[Stealth Ring]] stops keeping you invisible, it gets deadly.<br> | ||
| Line 47: | Line 55: | ||
[[File: Dragon9.png]] | [[File: Dragon9.png]] | ||
[[File: Dragon10.png]] | [[File: Dragon10.png]] | ||
---- | |||
6) Then go downstairs and in the left hot corner under the [[Fire Field]] there is a lever, so always get single [[Destroy Field Rune]] with you. After using lever, you will release the [[Dragon]] from its shackles. | 6) Then go downstairs and in the left hot corner under the [[Fire Field]] there is a lever, so always get single [[Destroy Field Rune]] with you. After using lever, you will release the [[Dragon]] from its shackles. | ||
[[File: Dragon11.png]] | [[File: Dragon11.png]] | ||
---- | |||
7) Now that we have released [[Dragon]], we can take the fight to him and defeat him, claiming interesting loot. <br> | 7) Now that we have released [[Dragon]], we can take the fight to him and defeat him, claiming interesting loot. <br> | ||
Revision as of 17:39, 6 January 2025
Name: The Dragon Quest.
Location: Rookgaard.
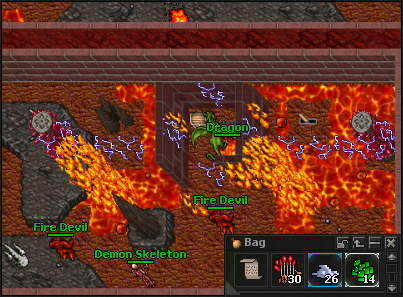
Reward: Ring of Healing, 30 Burst Arrows, 24 Platinum Coins, 12 Small Diaomnds, 14 Small Emeralds, Scroll.
Monsters: Spider, Goblin, Elf, Elf Scout, Beholder, Tarantula, Fire Devil, Demon Skeleton, Dragon.
Spoiler:
Requirements:
- Level 35
- Orc Castle Quest
 Stealth Ring highly recommended
 Golden Pick required
 Rope
Rope Destroy Field Rune
 Life Fluid
 Bow
Bow Arrow
Arrow
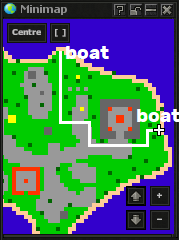
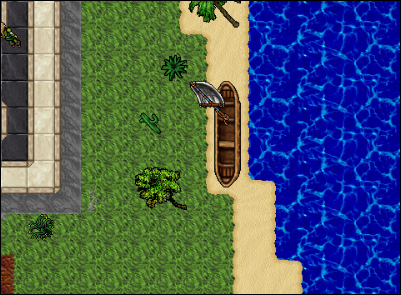
1) To get to the fire island, we need to access the underworld under Orc Castle Quest and enter the natural island. Then we move between the boats as shown in the pictures.
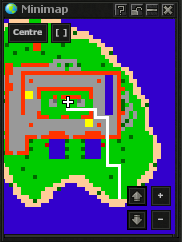
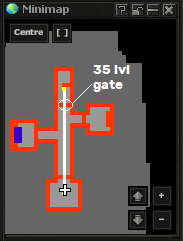
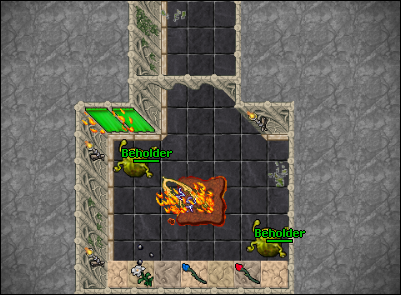
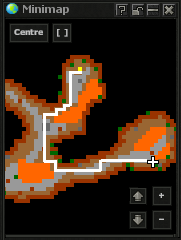
2) We appear in the fortress of elves, there are a lot of them there, a very good place to gain levels. If we want, we can hook up with the quest, which is accessed by the stairs to the top. If we skip, we go directly down, following the white line on the minimap.
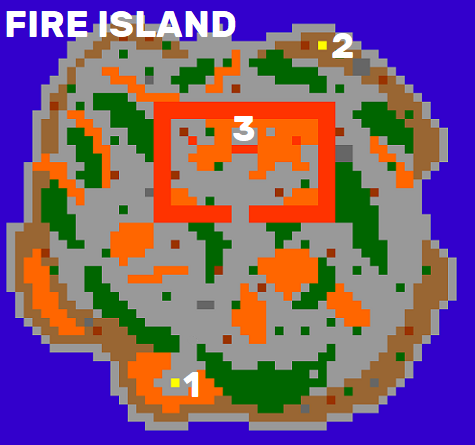
3) We reach the gates of hell, after crossing which, we will reach the isle of hell. Remember, sometimes appearances are deceptive!
As marked on the legend,
1. the entrance/exit gate,
2. the way, to unlock the Dragon and,
3. is where the Dragon is waiting to be released.
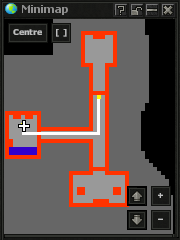
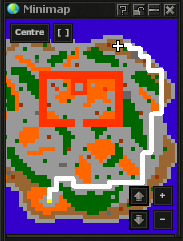
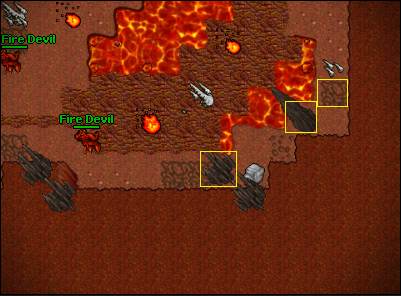
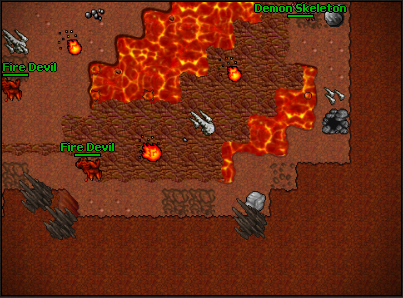
4) I highly recommend owning a Stealth Ring from this point on, as it is indispensable in this situation to avoid a quick appearance in the Temple. We follow the white line until we encounter volcanic rocks.
5) Time plays a significant role here, because the moment your Stealth Ring stops keeping you invisible, it gets deadly.
We need to split the volcanic rocks as quickly as possible using Golden Pick and dig a hole on the final sqm.
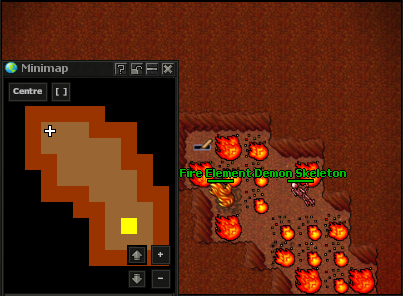
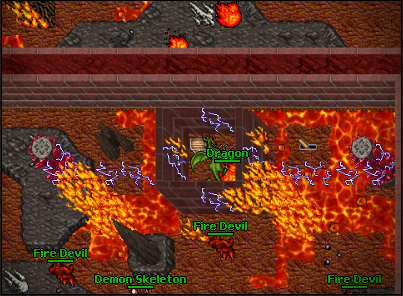
6) Then go downstairs and in the left hot corner under the Fire Field there is a lever, so always get single Destroy Field Rune with you. After using lever, you will release the Dragon from its shackles.
7) Now that we have released Dragon, we can take the fight to him and defeat him, claiming interesting loot.
Note: The Scroll in this quest, is part of another quest from the new island of Verdia.
