Rook Da Vinci Quest: Difference between revisions
No edit summary |
No edit summary |
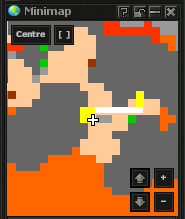
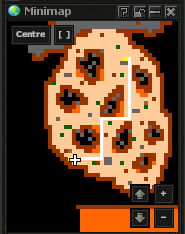
||
| Line 165: | Line 165: | ||
[[File: Vinci30.png]] | [[File: Vinci30.png]] | ||
[[File: Vinci31.png]] | [[File: Vinci31.png]] | ||
[[File: Vinci32.png]] | [[File: Vinci32.png]] | ||
Latest revision as of 12:57, 19 January 2025
Name: Rook Da Vinci Quest.
Location: Rookgaard.
Reward: Optional Pyrofagus Blade or Ring of Skill and Find Someone (exivas "NAME) spell learning, 17 Small Emeralds, 10 Small Amethysts, Scarab Amulet, 3 Scarab Coins, Ring of Life.
Monsters: Skeletons, Ghouls, Mummys, Crypt Shamblers, Fire Devils, Fire Elementals, Demon Skeletons, Beholders, Slimes, Shaburak Demons, Gozzlers.
Spoiler:
Requirements:
- Level 60 recommended and at least 4 players.
- Verdia Quest
 Rope
Rope Pick
Pick Life Fluids
 Bow
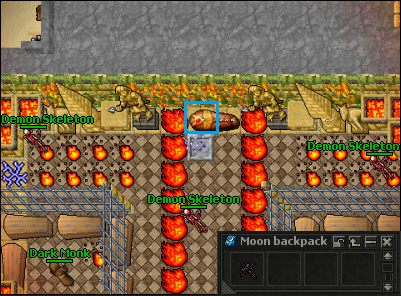
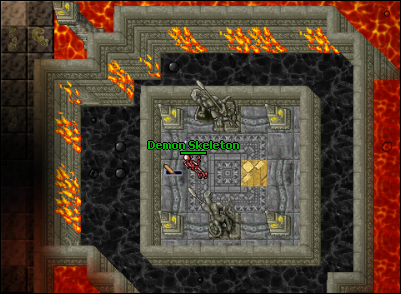
Bow Arrow
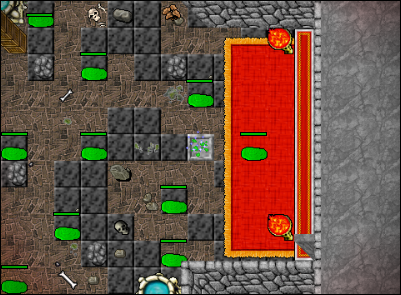
Arrow Light Energy Missile Rune recommended
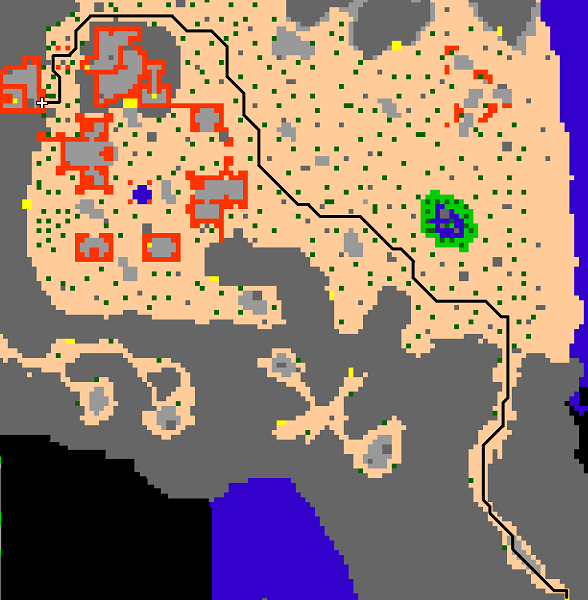
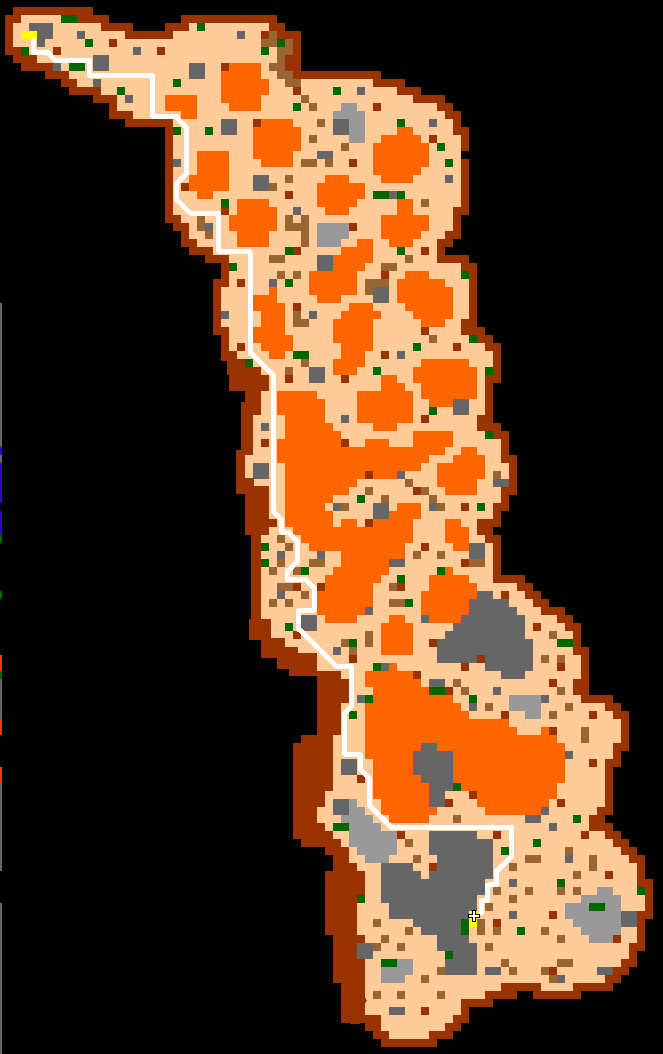
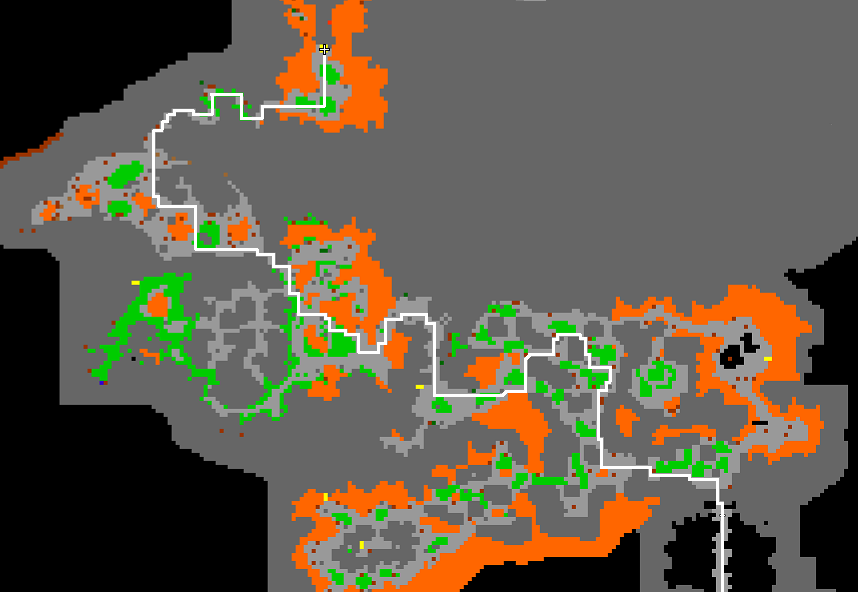
1) Dear rookslayer, you start the longest and very difficult challenge on the server. A demanding quest to complete even with a description. Follow the designated path.
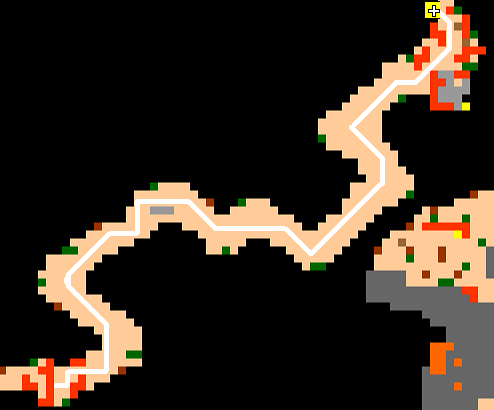
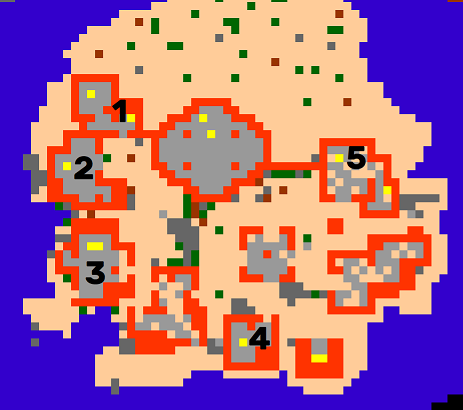
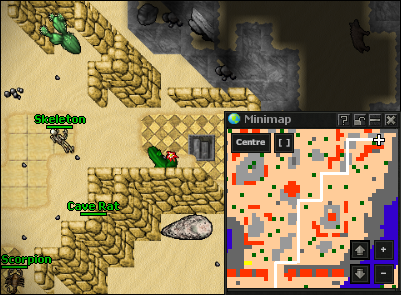
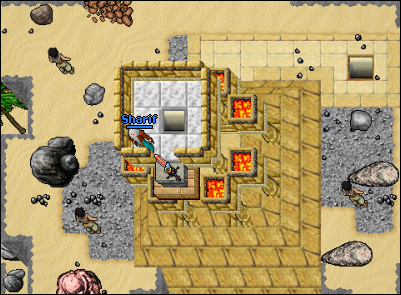
2) Cutting through the minotaurs, we reach the beginning of the desert, continue the journey by sticking to the marked route. We reach Shariff, with whom we start the quest.
Conversation:
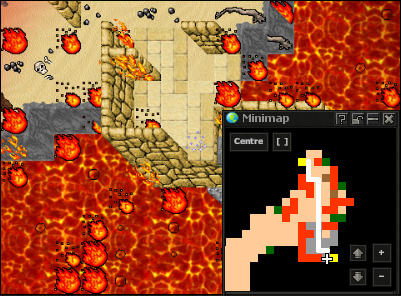
| Player: | Hi |
| Player: | Sword |
| Sharif: | In the depths of an underground city on the vast desert lived a blacksmith named Belthor. His skills were the stuff of legend among the inhabitants, but a desire for greatness tormented him like the ceaseless sand of the desert wind. One day, when the city faced annihilation by dark forces, he decided to take a desperate step ... |
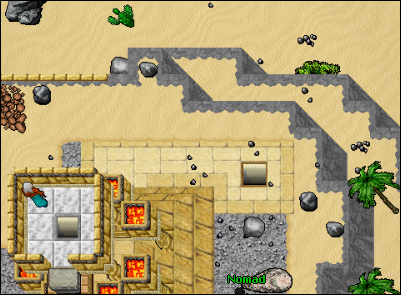
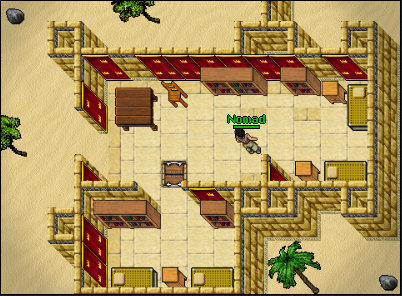
| Sharif: | Belthor knew of the legendary demon known as Infernos, who traveled between dimensions, and whose power was boundless. Determined to gain the power that would save his family and community, Belthor made contact with this dark entity ... |
| Sharif: | During a forbidden ritual in his hidden workshop, Belthor offered his own blood as a sacrifice to forge a pact with Infernos. In exchange for his soul, the demon promised him extraordinary power. The blacksmith set to work on a sword, and each hammer strike marked another step towards power and peril ... |
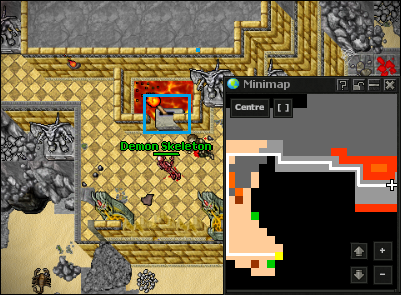
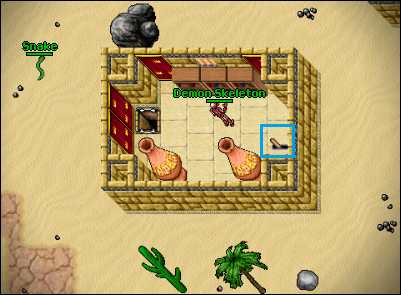
| Sharif: | The completed sword, named Pyrofagus by Belthor, was a tool of powerful fiery force, capable of burning everything in its path. However, this power also brought darkness. As Belthor wielded the sword, he felt his soul gradually losing control over its own fate ... |
| Sharif: | Faced with the threat of losing himself, Belthor made a courageous decision. He decided to destroy Pyrofagus, splitting it into three parts and hiding them in different corners of the desert. Each part was to contain one third of the demonic power that filled the original sword ... |
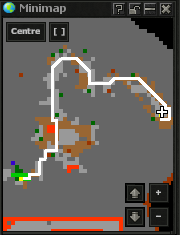
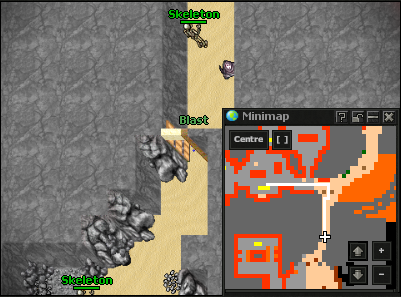
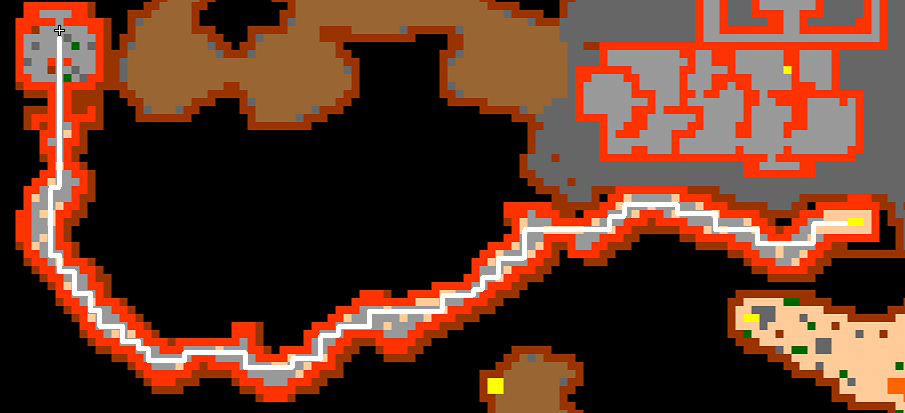
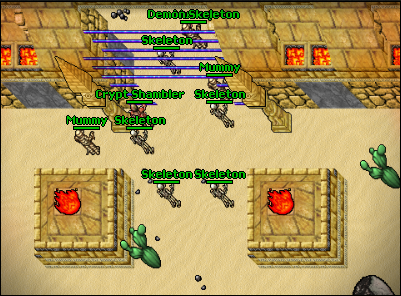
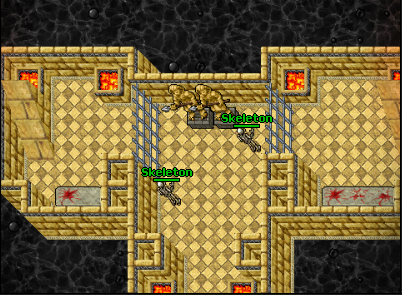
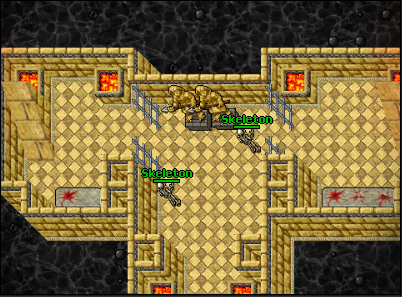
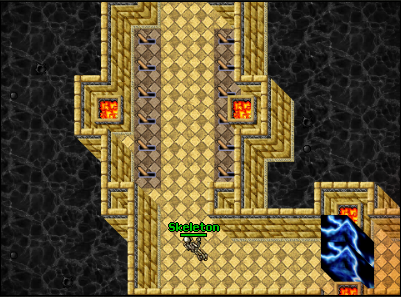
| Sharif: | Belthor, weakened and afflicted by the demonic plague, cursed Pyrofagus and sacrificed himself to protect the world from his own creation. Since then, the legend of the blacksmith from the underground city has circulated among the desert winds, and people told the story of a hero who gave his life to harness the evil he himself had created ... |
| Player: | Mission |
| Sharif: | Your courage might be just what I need ... |
| Sharif: | I'm looking for someone who dares to find the three parts of the legendary sword that has been scattered across the desert ... |
| Sharif: | In our history, there is a legend of the sword Pyrofagus, created by an ancient master blacksmith ... |
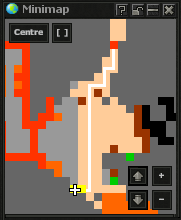
| Sharif: | This sword is the source of a powerful fiery power, but unfortunately, it has been broken into three parts and hidden in temples across the desert ... |
| Sharif: | Are you interested in helping to find this sword? |
| Player: | Yes |
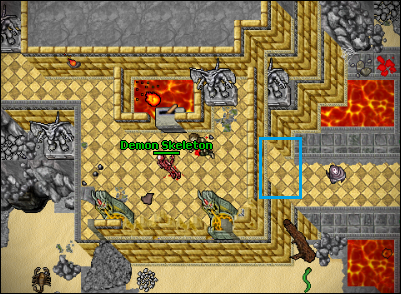
| Sharif: | Your task is simple, but dangerous ... |
| Sharif: | Go to the desert and find the three parts of Pyrofagus ... |
| Sharif: | The first part is in the ancient Temple of Fire, northeast from here ... |
| Sharif: | The second is hidden in the Temple of Storms, whose entrance has long been buried by the sands of time but the elders remember it was to the west from here ... |
| Sharif: | The third part you will find in the Temple of Fire, deep underground but only a few know its location, do you undertake the task of finding all parts of the sword? |
| Player: | Yes |
| Sharif: | I warn you, young man, the temples are full of traps and guardians ... |
| Sharif: | Be cautious and use your wits, always try to make it back to the surface for you might be trapped in the temple forever ... |
| Sharif: | And may Pyrofagus restore peace to the world, may the force be with you, warrior. And remember, always keep your eyes wide open. Good luck! |
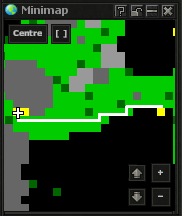
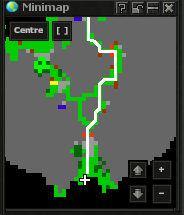
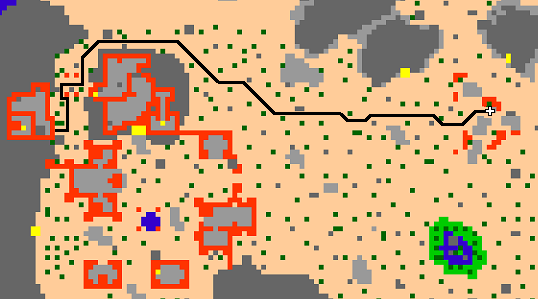
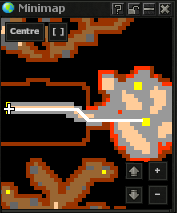
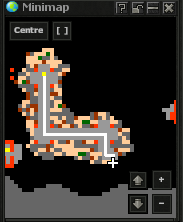
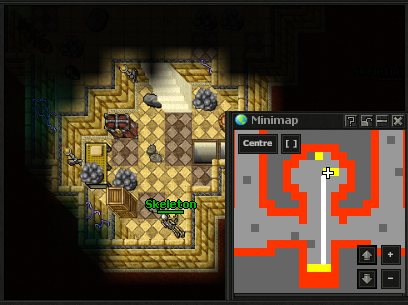
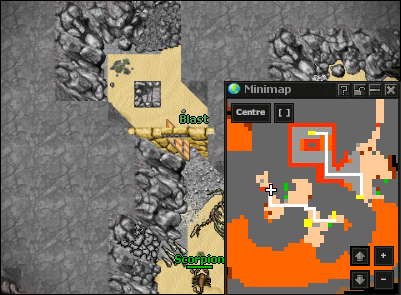
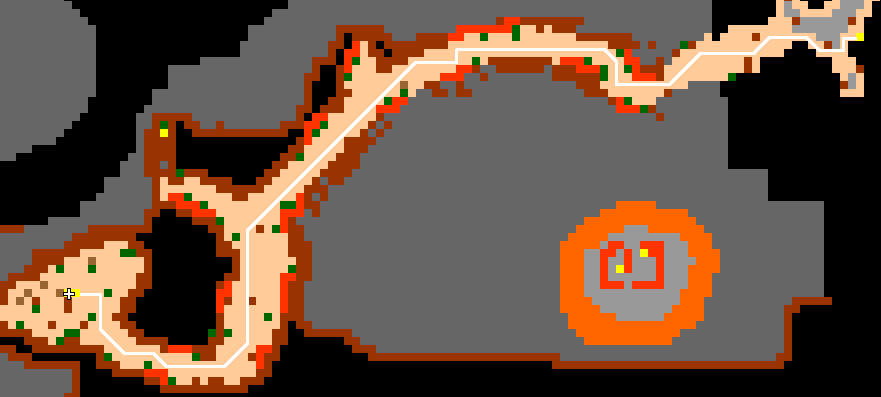
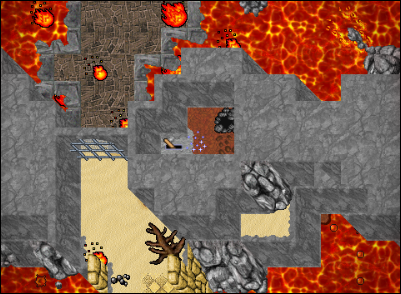
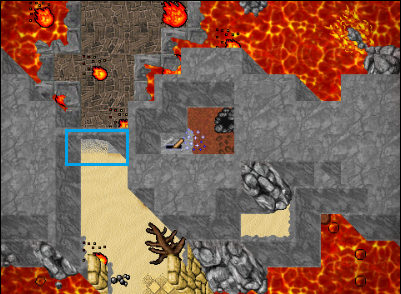
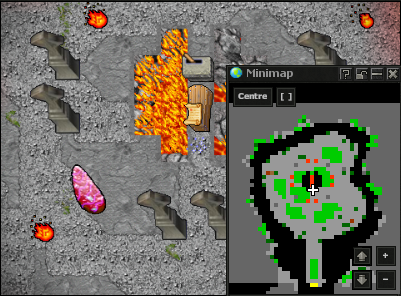
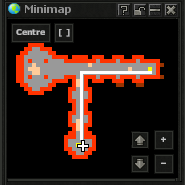
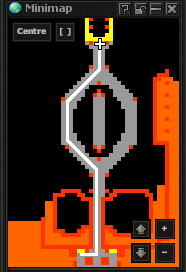
3) After the dialogue, we head to the hole marked on the map.
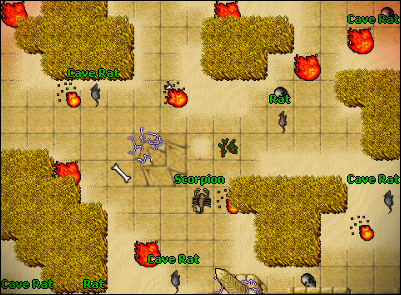
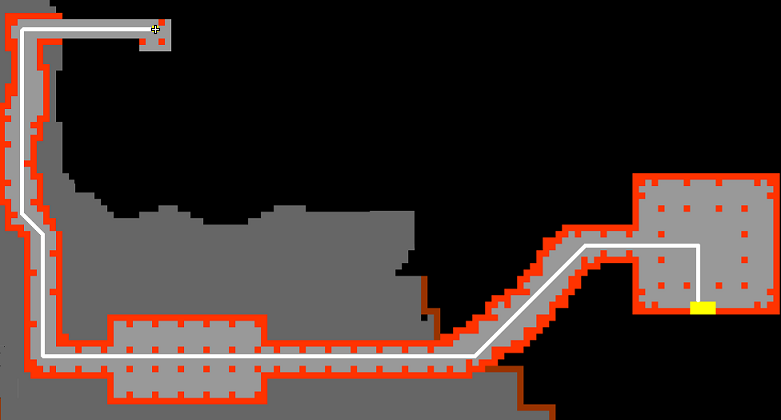
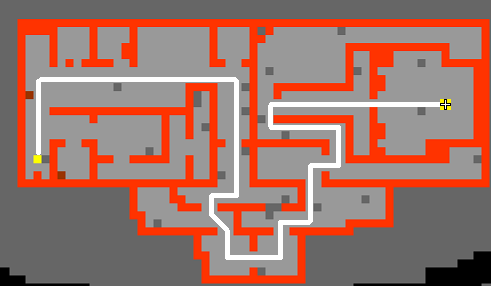
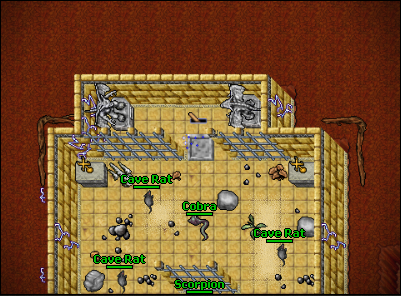
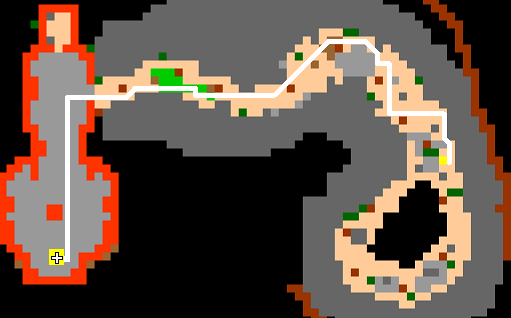
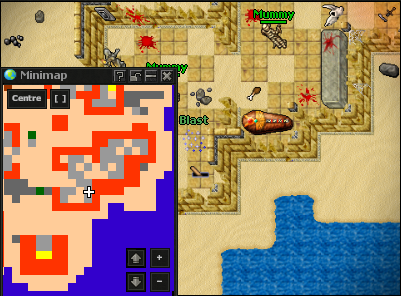
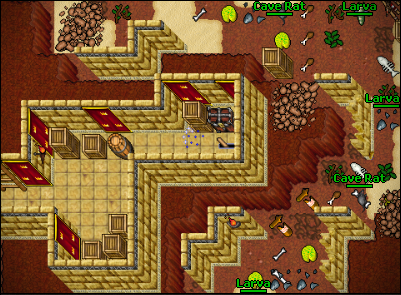
4) We run through, defeating or avoiding the monsters in question to reach the lever.
5) Activate any lever, unlock access to the previous one, and go back to the one by the stairs to press it as well.
6) Pressing the lever by the stairs opens the bars to move on.
7) And we are running on!
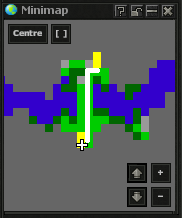
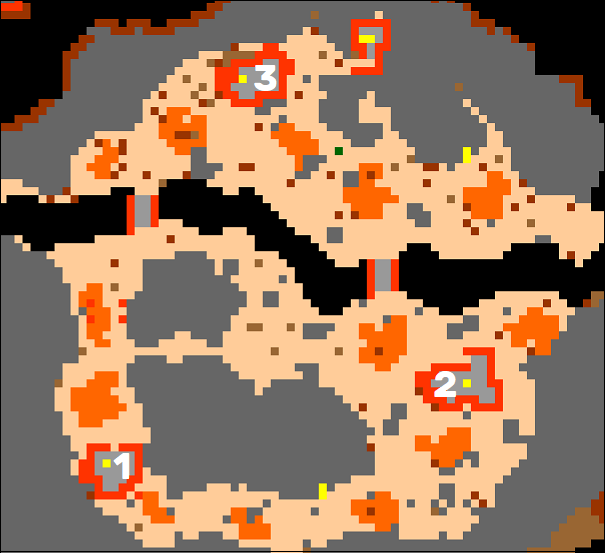
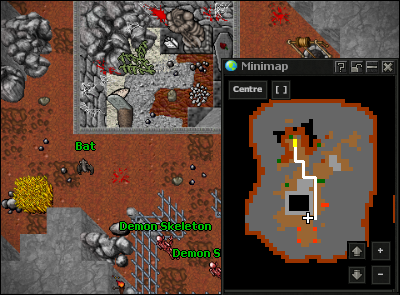
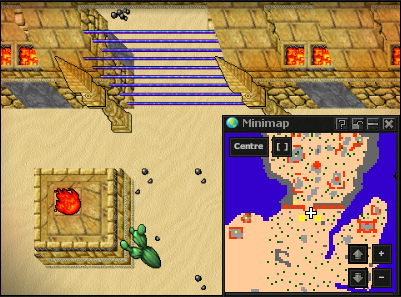
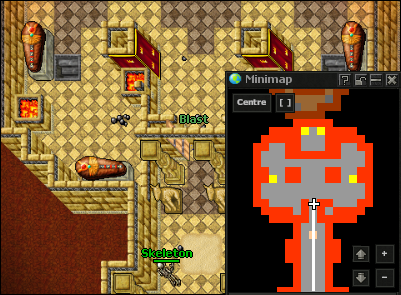
8) We reach a place where we have to sprinkle ourselves with holy water to get through this hell! We visit and click 3 shrines, marked on the map.
9) With this blessing, we can cross the wall to the east to continue the adventure.
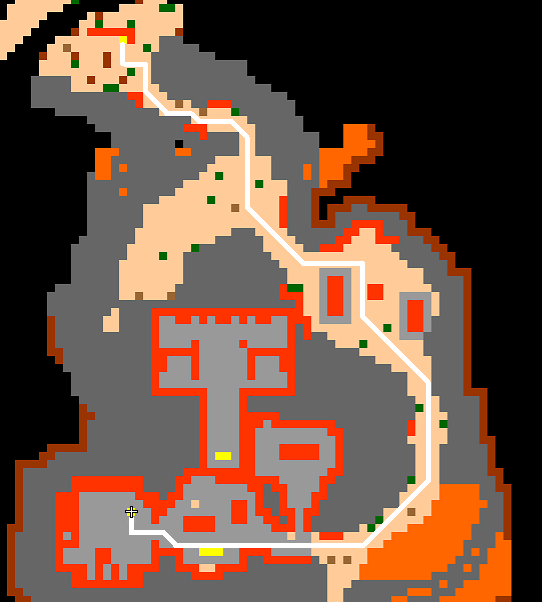
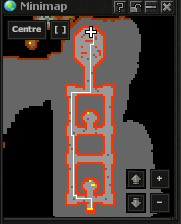
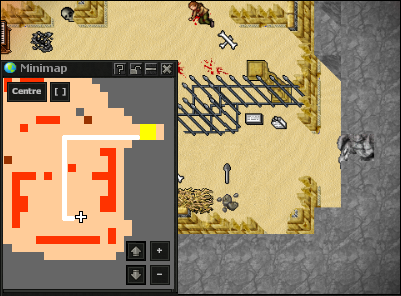
10) Now it's a good idea to get together as a group and reach the designated destination! Follow the marked path. When you reach the statue, click it and it will guarantee you access to the passage through the door.
11) After receiving the blessing, we run through the door to reach the next point where we must stand on the gray SQM to receive another blessing.
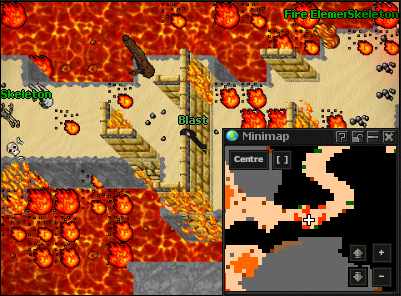
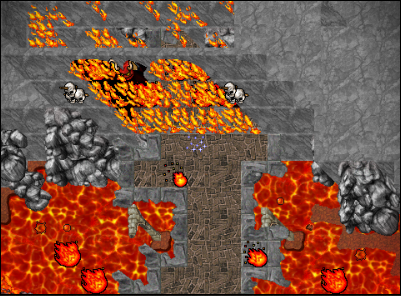
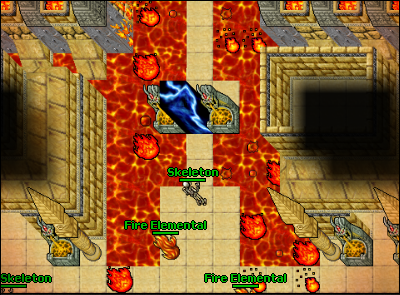
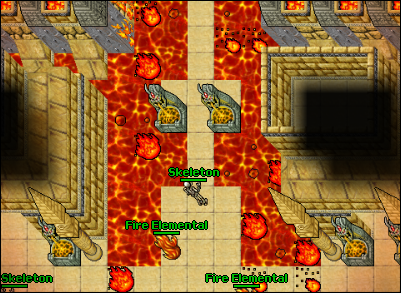
12) We must now return to the crossroads with Fire Elemental and go down, following the marked path.
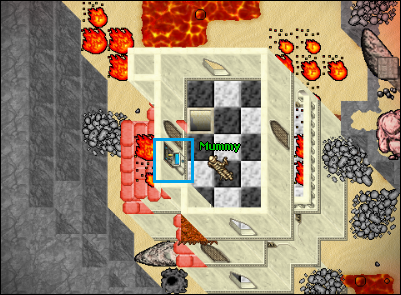
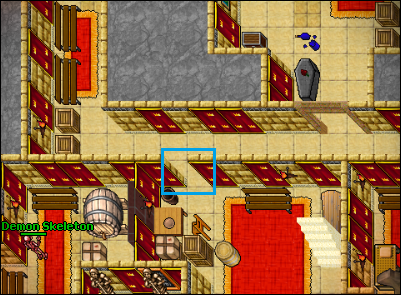
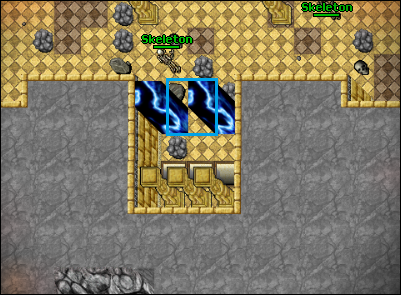
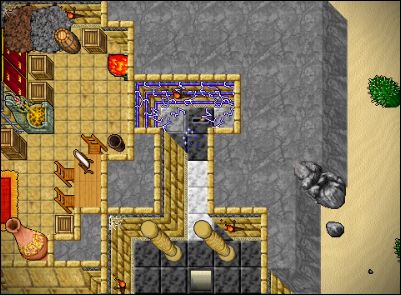
13) Go downstairs and look for a lever on the left side of the rooms, which will unlock a breach in the wall.
14) Now lightly go back and go through the breach in the wall to place the Ankh on the altar. (It can be found nearby, on a table).This unlocks the magic wall above us.
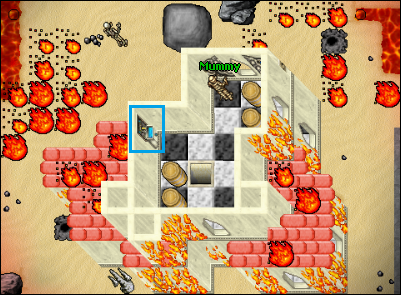
15) We go as on the map, to the lever, switch it and remove the magic wall again, this time a floor below.
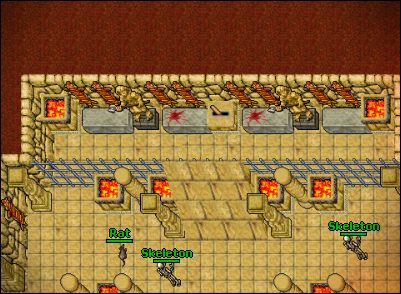
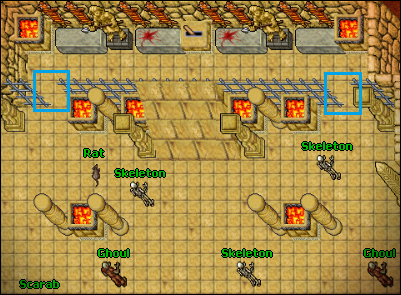
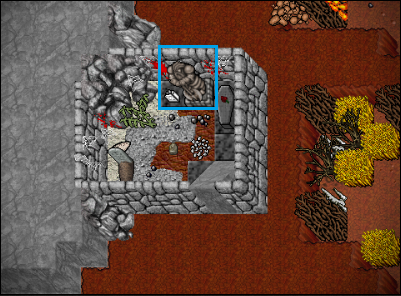
16) Lightly return, go down a floor below and stand on the gray SQM to get the blessing and click the sarcophagus to get the first of the three fragments.
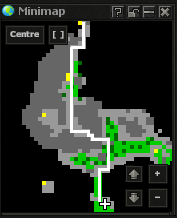
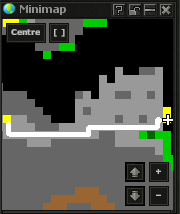
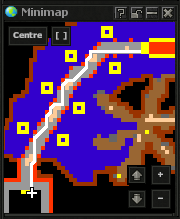
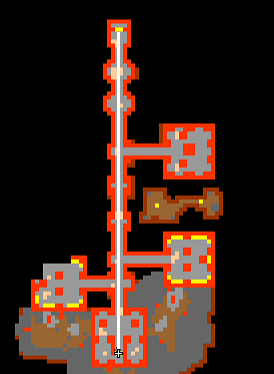
17) We run out of this place and go south through the door we gained access to. Then following the marked route, we run to the next lever, which will remove the wall for us to continue the quest.
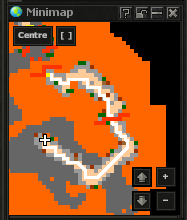
18) Toggle the lever and go down, follow the path.
19) Reaching the gray SQM, we stand on it.
20) We have gained access to the next door! Bravo! Go through them and follow the marked path.
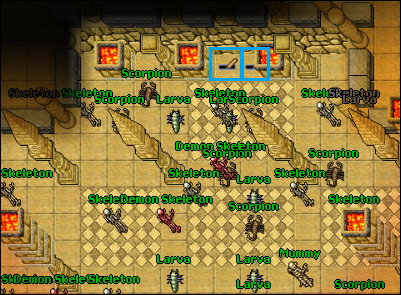
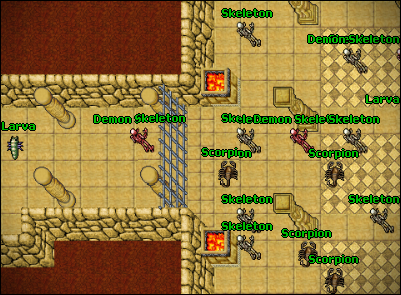
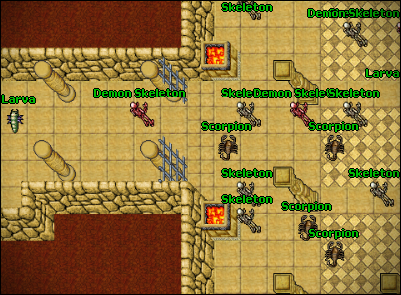
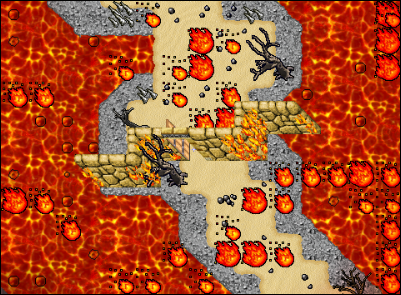
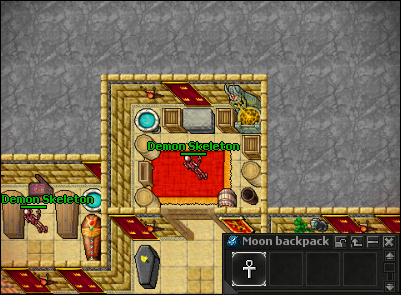
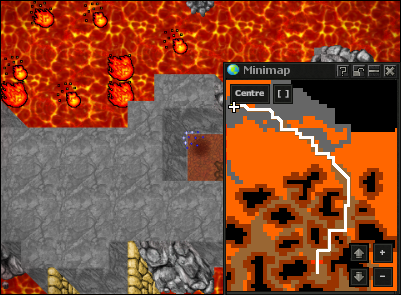
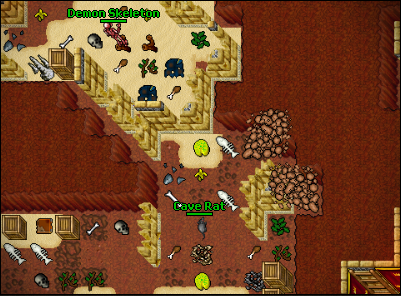
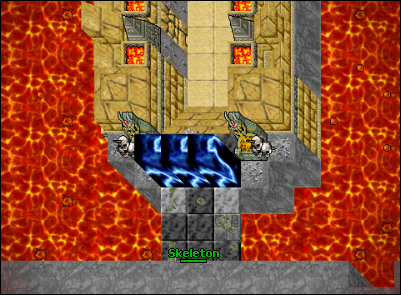
21) Along the route we pass Fire Devils and Demon Skeletons. Be on the lookout!
22) We reach the place where there are 5 altars. On each of them we have to put Blank Rune and then move the lever that unlocks the bars.
23) Bars unlocked, we run ahead according to the map.
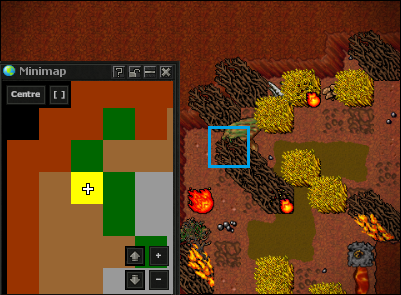
24) In place of the bucket there is a place to dig a hole, go down and run north to switch the lever that is responsible for the obstacle in the way.
25) After activating the lever, return to the top and head west and then north to reach the gates of hell.
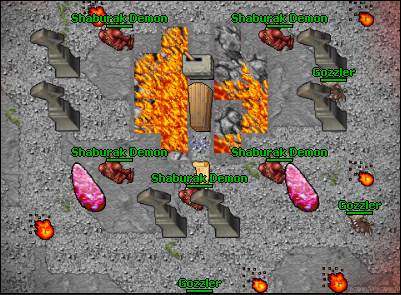
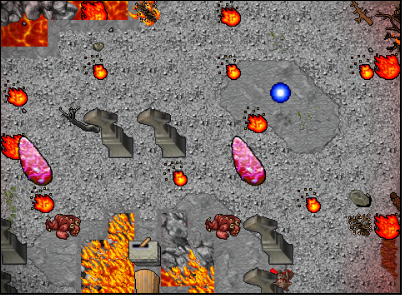
26) Now there is a long road full of Shaburak Demons and Gozzlers. Be careful.
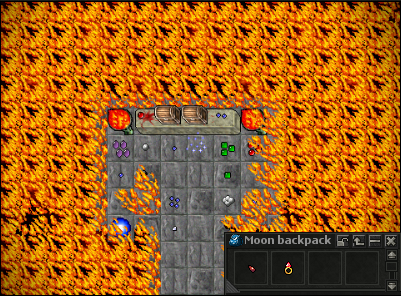
27) We appear at the parchment. The moment you take it from this place, monsters will appear that must be defeated. After dealing with them, click the lever and enter the teleport with the reward.
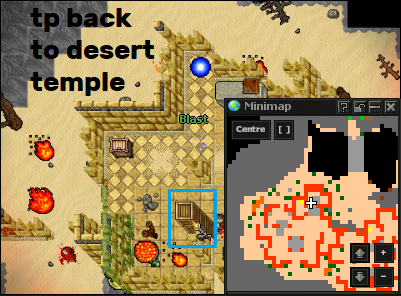
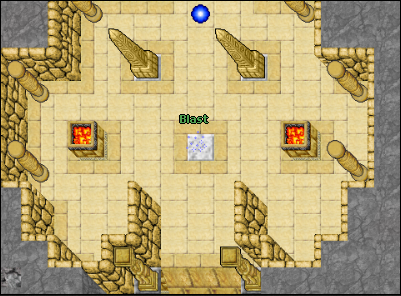
28) Now we return to the place from before the infernal gate and stack 3 crates to get to the teleport, which will dump us in the desert temple.
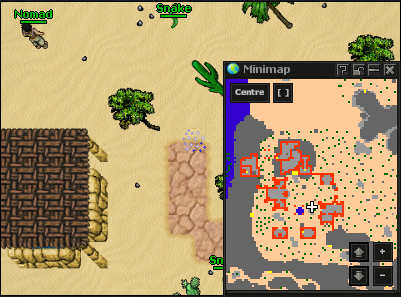
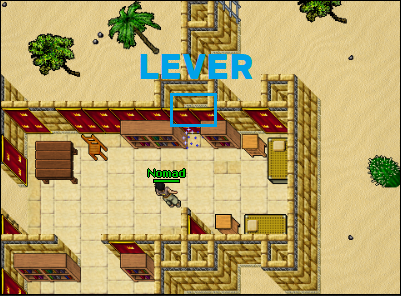
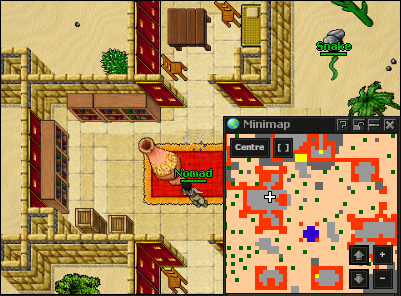
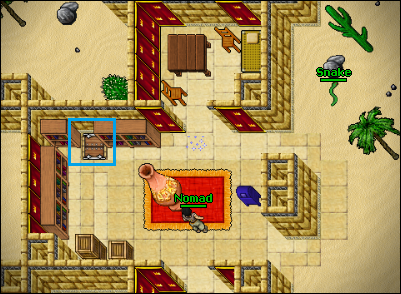
29) We leave the temple and go down to the right, to the room with 1 Nomad. There is a well-hidden lever there, we click it and it opens a descent to the bottom, where, beware, a second lever is waiting for us, which we also activate.
30) Lever from the cellar, unlocked another descent for us, we go there.
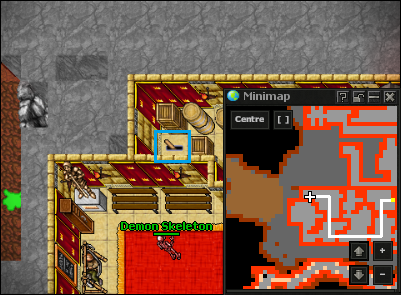
31) Go down the marked path, enter the room with 1 Demon Skeleton and switch the lever that removes the wall.
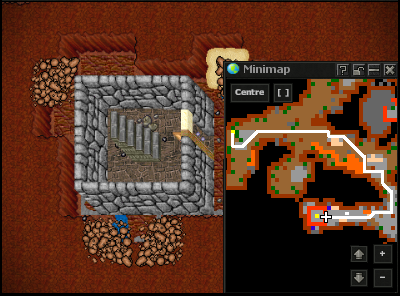
32) We take a breath and switch the lever that opens Tempe of Storm for us. (North-east from our Desert Town).
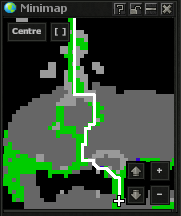
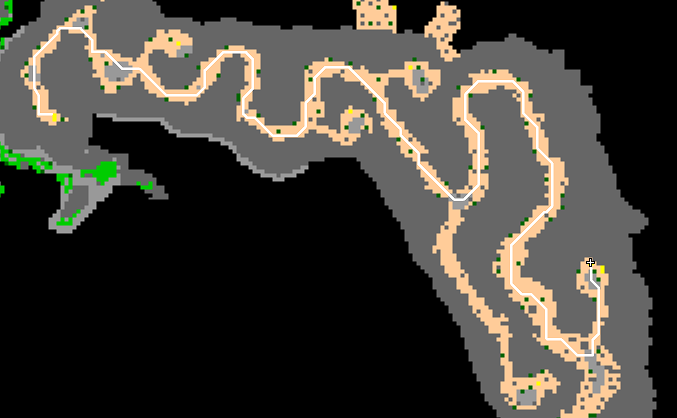
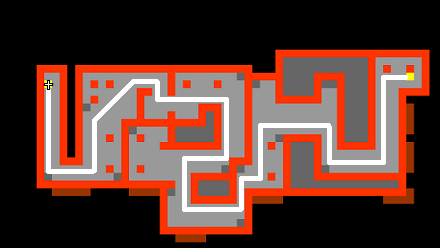
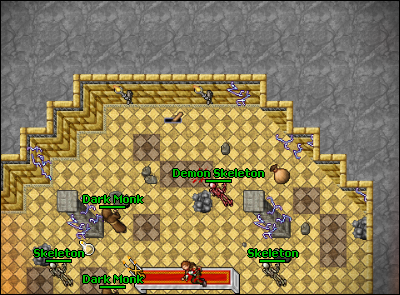
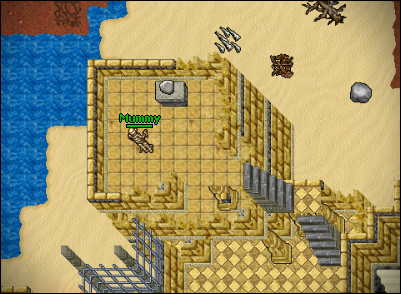
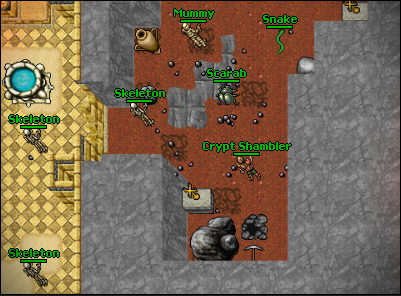
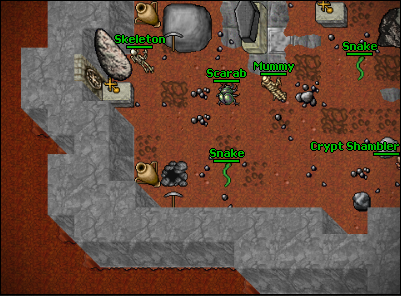
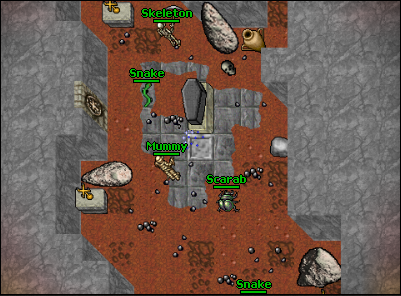
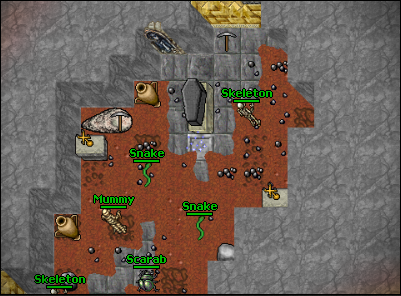
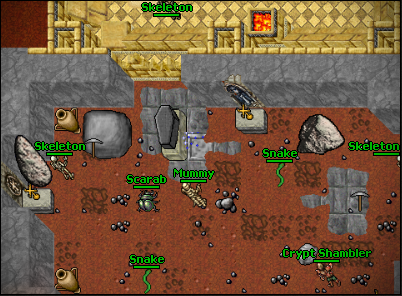
33) We run according to the marked route, passing monsters such as Skeletons, Ghouls, Mummys, Crypt Shamblers and Demon Skeletons.
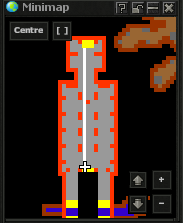
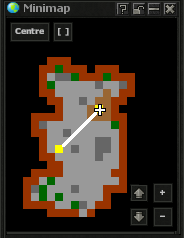
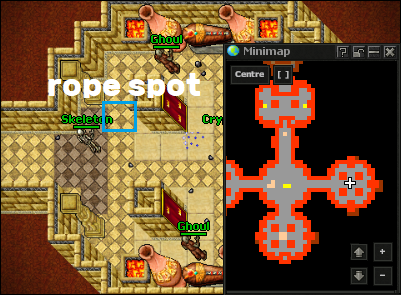
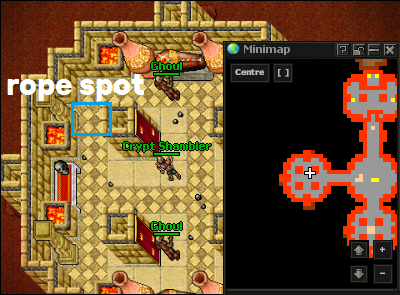
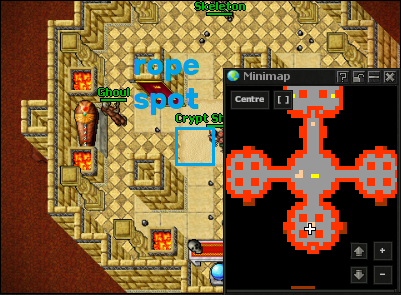
34) We reach the place where there are 3 rooms. At this stage, we need 3 players. In each of the rooms.
NOTE: there is a i-n-v-i-s-i-b-l-e rope spot. Would you have thought? Each player must go upstairs to separate rooms.
35) When we are at the top, we position ourselves on the gray SQMs. Standing on 3 SQMs at once will give us access to the next stage.
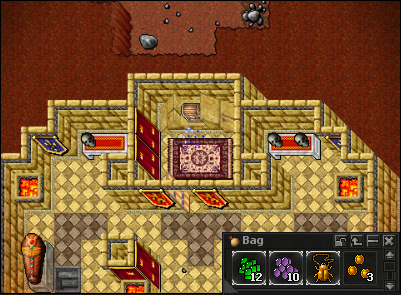
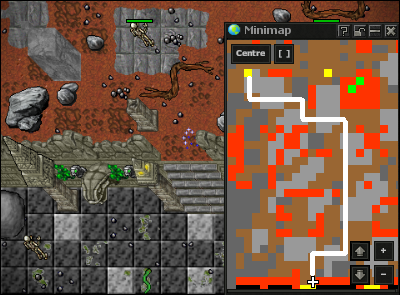
36) Now descend from these 3 rooms and go north through the door, to get the reward box. But this is not the end.
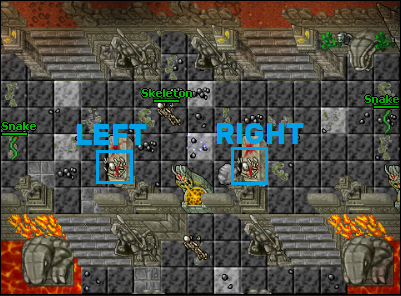
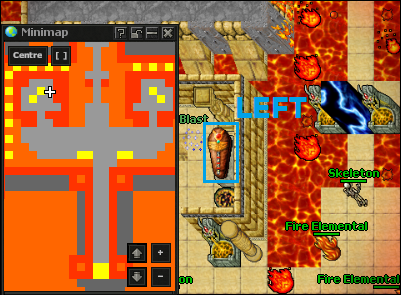
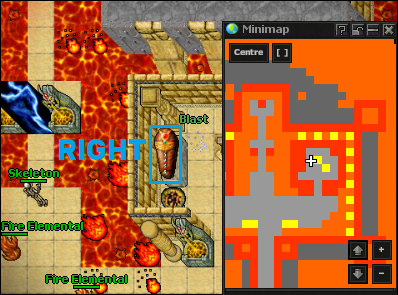
37) Down the stairs and continue following the path. We stop at 2 skeletal remains LEFT and RIGHT. It has a meaning. We take them with us in our backpack.
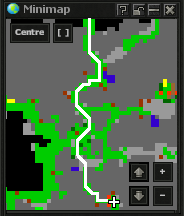
38) We continue according to the marked route.
39) We reach the sarcophagi, where we place the skeletal remains we lifted earlier to unlock the bars at the bottom. You only need to put one remains in one sarcophagus, but remember. LEFT REMAINS INTO THE LEFT SARCOPHAGUS, RIGHT REMAINS INTO THE RIGHT SARCOPHAGUS.
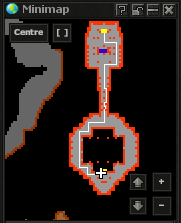
40) After going downstairs, run in the southern direction of the map and move the indicated lever, which removes the magic wall.
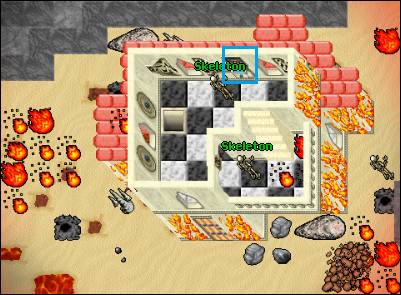
41) Enter the room with the Demon Skeleton and click another lever, thus unlocking access to the last - the third part of the fragment.
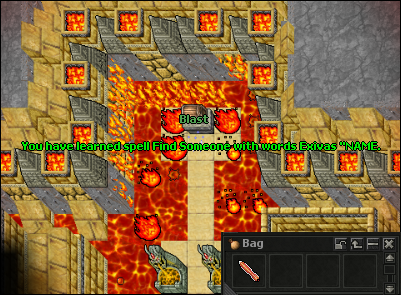
42) Super! We managed to get the exivas spell and all the fragments needed to forge the sword.
43) We return to Sharif and establish a dialogue.
Conversation:
| Player: | Hi |
| Player: | Mission |
| Sharif: | I see that you have brought all the pieces of the mighty sword that were lost in the nooks and crannies of time ... |
| Sharif: | I see that you are not reckless in bringing me this ruined work ... |
| Sharif: | Now, as you possess all the fragments, you must be warned of the powerful consequences they carry with them ... |
| Sharif: | Destroy it, young seeker. This sword is bound with dark forces, and its power is too great for a mere mortal ... |
| Sharif: | In these fragments lies a power that cannot be easily mastered ... |
| Sharif: | If you try to use it, you risk losing control and plunging into darkness from which it is hard to emerge ... |
| Sharif: | Do you want to keep it for yourself and experience first-hand what I've spoken of, or do you choose to destroy it? |
| Player: | Keep |
| Sharif: | The power of Pyrofagus is like a flame that cannot be controlled ... |
| Sharif: | It must be extinguished before it devastates everything around ... |
| Sharif: | Do not immerse yourself in the greed of power that you cannot master ... |
| Sharif: | It is not too late for its force to not have touched this world. |
| Sharif: | Is this your final decision? |
| Player: | Yes |
| Sharif: | Now comes the moment of trial ... |
| Sharif: | The final stage of repair requires the joining of these fragments and the restoration of Pyrofagus' power ... |
| Sharif: | However, you must be prepared for what may happen ... |
| Sharif: | May the Desert Winds oversee your steps, and the light of blessed magic protect you from the darkness ... |
| Sharif: | Do not allow demonic powers to stray onto the path of your soul. |
BUT! We can also choose to destroy these fragments and in return Sharif will give us a reward in the form of a ring - Ring of Skill, which increases while wearing it: Distance, Sword, Axe, Club and Shielding skills by +3. Congratulations! You have completed the legendary Rook Da Vinci Quest.
