Iceland Quest: Difference between revisions
No edit summary |
No edit summary |
||
| Line 20: | Line 20: | ||
1) Dress warmly, because we are starting an expedition to the coldest places in [[Rookgaard]]. At first, we go to [[Seymour]] to purchase a [[Wooden Key]] from him. 4600 for the price of 5 [[Gold | 1) Dress warmly, because we are starting an expedition to the coldest places in [[Rookgaard]]. At first, we go to [[Seymour]] to purchase a [[Wooden Key]] from him. 4600 for the price of 5 [[Gold Coin]]s. | ||
<b>Conversation:</b> | <b>Conversation:</b> | ||
Latest revision as of 12:00, 8 January 2025
Name: Iceland.
Location: Rookgaard.
Reward: Light Energy Strike (exori min vis) learning, Plate Legs, 30 Platinum Coins, Energy Ring, 3 Mana Fluids, Access to Ice Witch, Key 4600, Key 4900, Key 6390.
Monsters: Spider, Rat Wolf, Orc, Minotaur, Skeleton, Ghost, Demon Skeleton, Minotaur Mage, Vampire, Winter Wolf, Polar Bear, Frost Giant, Frost Giantess, Crystal Golem, Ice Witch, Hostile Winter Queen.
Spoiler:
Requirements:
- Level 30
- Open two doors at Minotaur Mage from Sword of Fury Quest
 Pick
Pick Shovel
 Rope
Rope Life Fluid
 Destroy Field Rune
 Vial or
  Cup
Cup Bow
Bow Arrow
Arrow Closed Trap
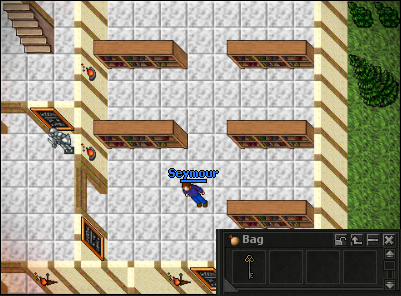
1) Dress warmly, because we are starting an expedition to the coldest places in Rookgaard. At first, we go to Seymour to purchase a Wooden Key from him. 4600 for the price of 5 Gold Coins.
Conversation:
| Player: | Hi |
| Seymour: | Hello, Player. What do you need?. |
| Player: | Key |
| Seymour: | Do you want to buy the Key to Adventure for 5 gold coins? |
| Player: | Yes |
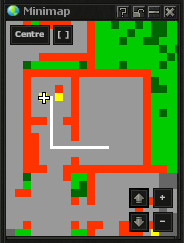
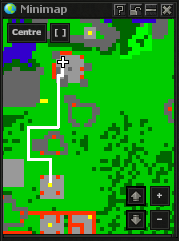
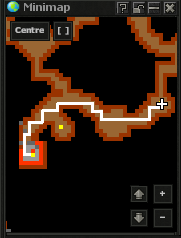
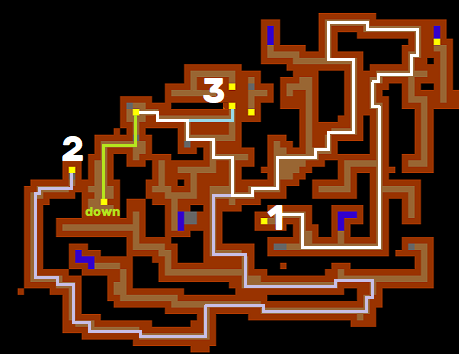
2) Follow the path indicated by the white line to push the lever to disappear the bars, leading to the room with the next key.
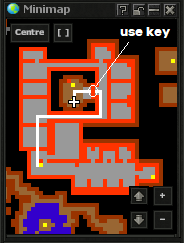
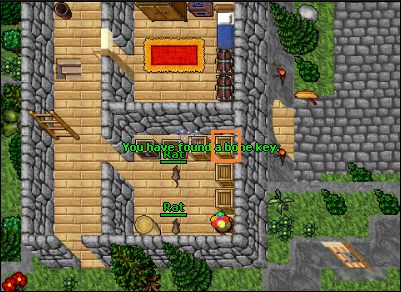
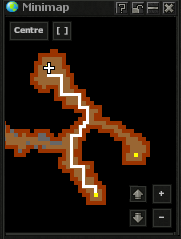
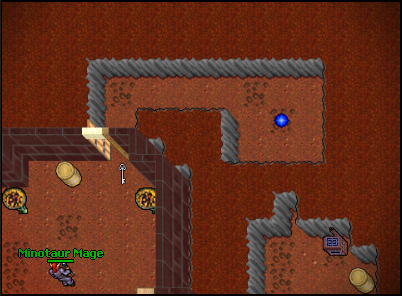
3) After pushing the lever, go to the room above Tom to pick up the Bone Key 6390.
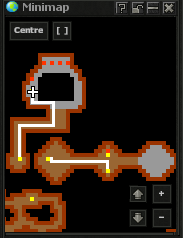
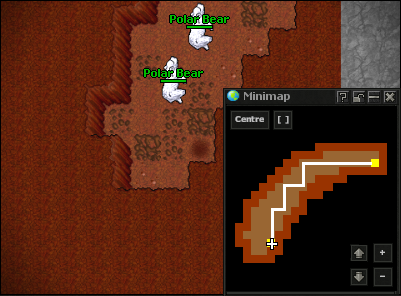
4) Now we are going to Mino Hell.
5) We reach the place where the third door is located, open it with the Bone Key 6390.
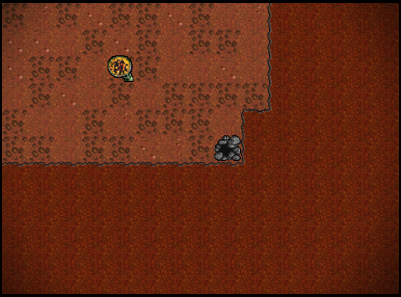
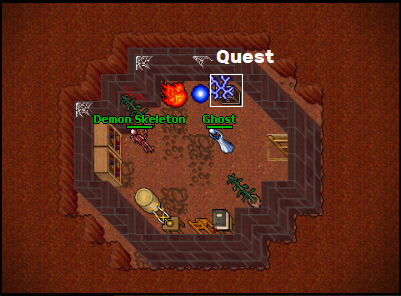
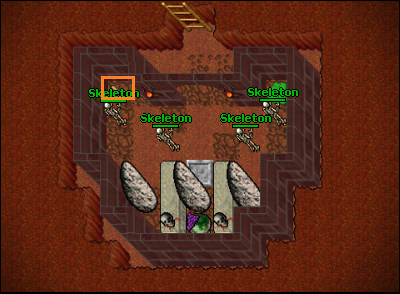
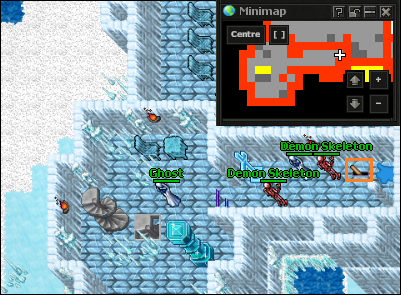
6) Jump into the teleport, but beware, Demon Skeleton and Ghost are there ahead of you. In the box under the energy field, there is a Quest.
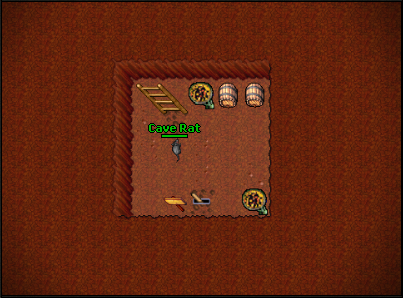
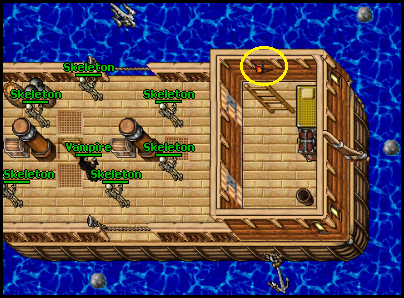
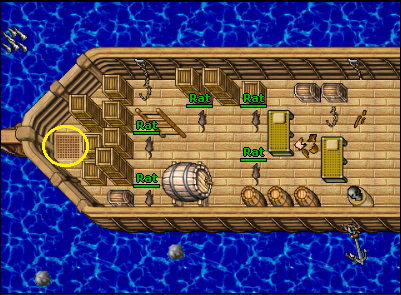
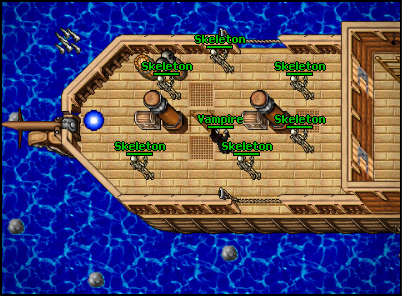
7) Bang! We appear on the ship, where we see several Rats, and on top of Skeletons and a Vampire. You can aswell find some things hidden in boxes.
To start the ritual we must extinguish the torch, which activates the hidden SQM-descent in the ship. We are going down.
8) We find a place for the ritual, and on the left side under the Fire Field is hidden a lever, to activate it, we need to pour wine on the gray sqm. We take the wine from the barrel located on the floor above, so it is important to take an empty vial type vessel to fill it on the ship. Once activated, we have tens of seconds to jump into the teleport, which will appear on the main deck of the ship.
Note: Hurry up, teleport will disappear after some time.
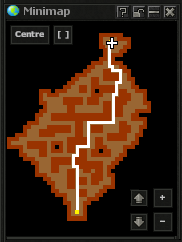
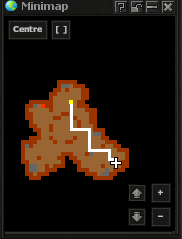
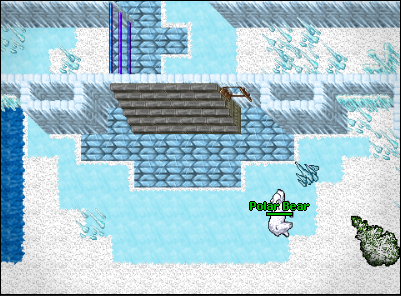
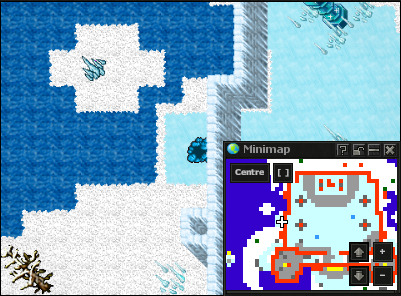
9) I hope you took warm clothes, because we are jumping into frigid weather. Follow the designated line to the descent.
10) This is where the torment begins! We have to activate the 3 levers in the correct order, because the way to any but 1 is blocked by a removable stone. First we reach lever 1 and activate it, return and take the route to lever 2, drag it, then go to number 3 and click that. All the stones blocking the passageways on this floor have been removed, and we can head downstairs via the exit on the map marked “down”.
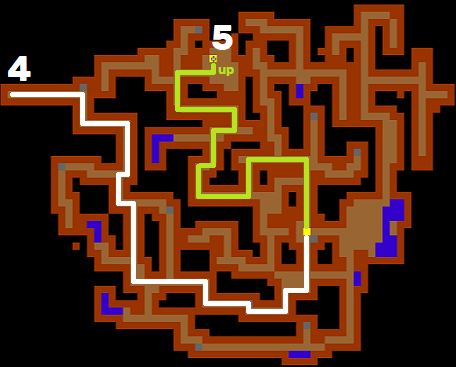
11) We went down a floor below, now go to the west side, where there is a lever number 4, click it. After activation, we run to the point number 5, go upstairs.
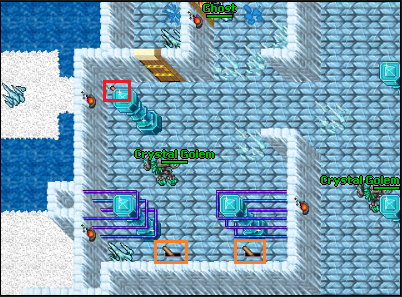
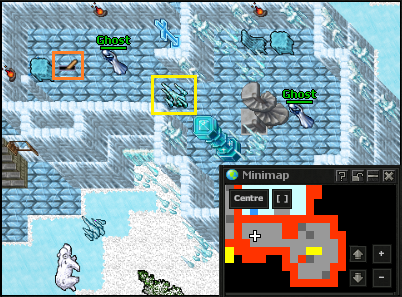
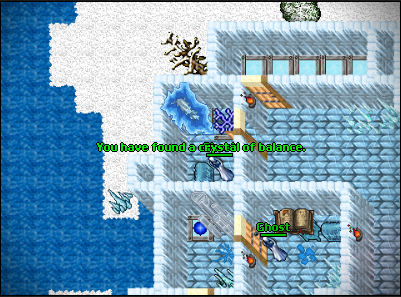
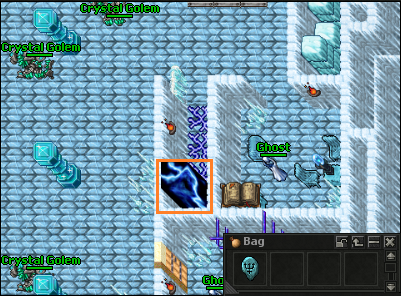
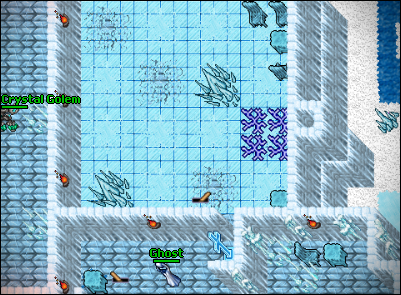
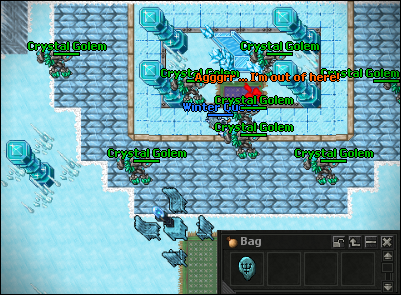
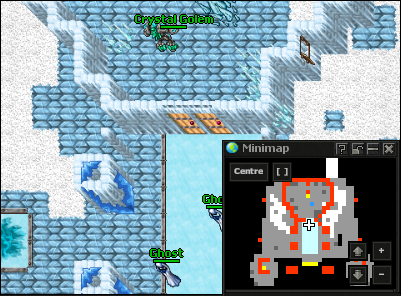
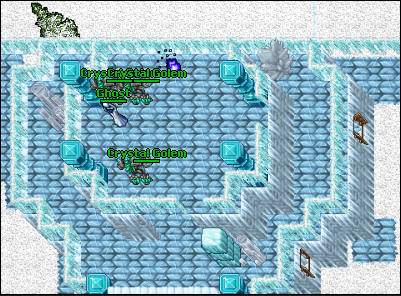
12) We got to the main part of the island. In the castle we have to deal with Crystal Golem and Ghost. We go to the levers visible in the picture, they are under the energy fields, so you need to have Destroy Field Rune with you (one is available on the ship in a barrel). Switch them to unlock the door to the Crystal Key and the chest containing the Crystal of Balance.
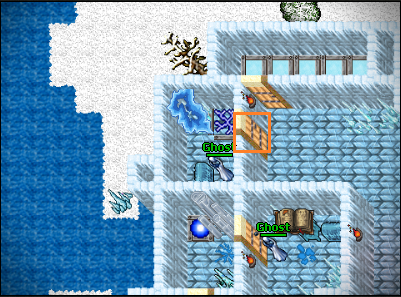
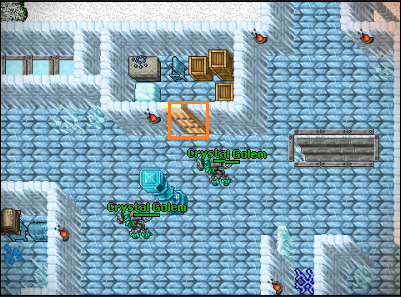
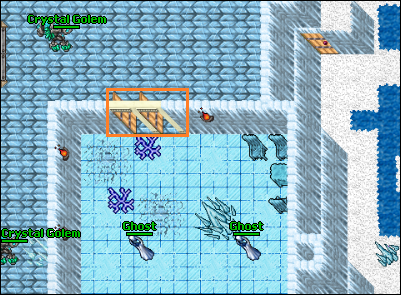
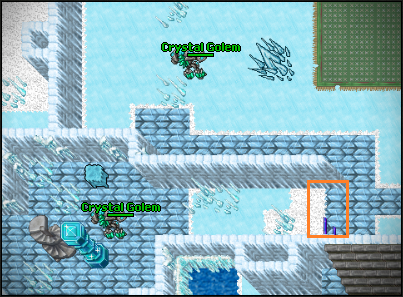
13) Now go down a floor below on the lower right side, use Pick to smash the ice spikes and switch the lever, which unlocks the door to the room with Blueberries and the lever under the ice cube.
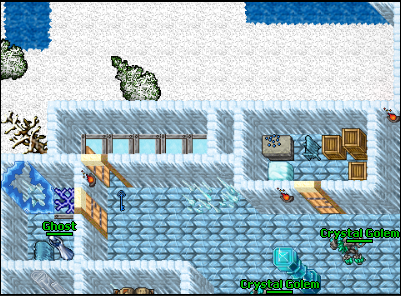
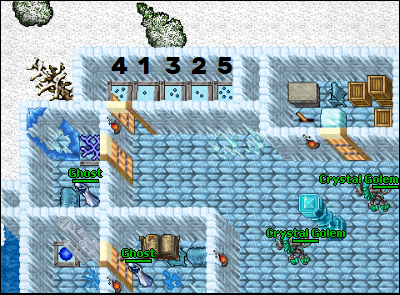
14) Using Crystal Key, open the door to the room with 5 bars and arrange Blueberries in the appropriate variation, shown in the picture.
Correct Order: 4, 1, 3, 2, 5.
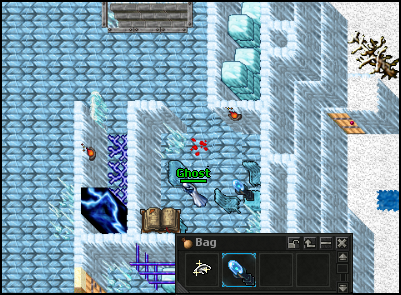
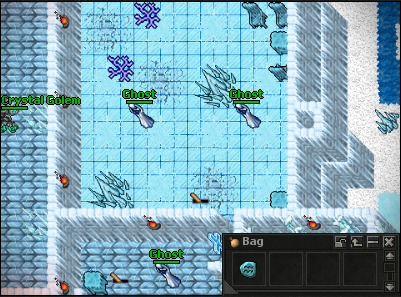
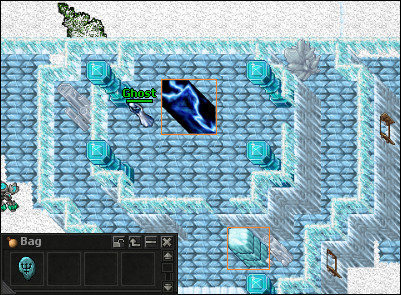
15) Now we can go get the two needed items to continue the quest. Pick up Crystal of Balance and Crystal Golem Heart from the chests (Each is guarding by single Ghost)
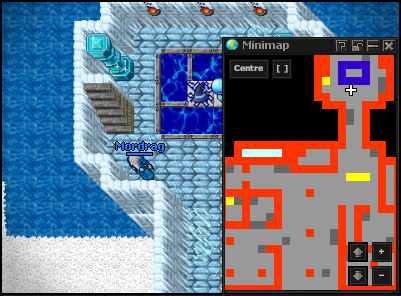
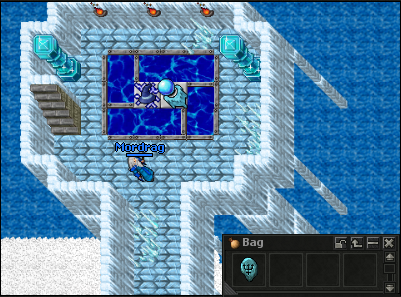
16) After getting the items, we go to Mordrag for a chat. We will get a rune from him, to destroy the barrier.
Conversation:
| Player: | Hi |
| Mordrag: | Be greeted Player. |
| Player: | Mission |
| Mordrag: | I see you've acquired the items you'll need for the rest of the way to the top of the tower ... |
| Mordrag: | But first you must visit our princess and get permission ... |
| Mordrag: | The problem is the last blue barrier that leads straight to her ... |
| Mordrag: | To open it, you must turn off its power ... |
| Mordrag: | I will help you do this if you give me the two items you managed to get, 'crystal of balance' and 'crystal golem heart' ... |
| Mordrag: | In return, I will give you a rune to destroy the blue generators that look like a 'magic wall' ... |
| Mordrag: | Do you agree? |
| Player: | Yes |
| Mordrag: | Ahh you have it, please this is the rune that will destroy the generators of the last gate ... |
| Mordrag: | But remember, to use it you must learn it by reading the grand spellbook, but I don't remember where I put it ... |
| Mordrag: | You'll have to search for it, I'm sure it's been left here somewhere! |
17) In order to use this rune, we need to read the ancient spellbook, which is located in the same room as the chest with the Crystal Golem Heart.
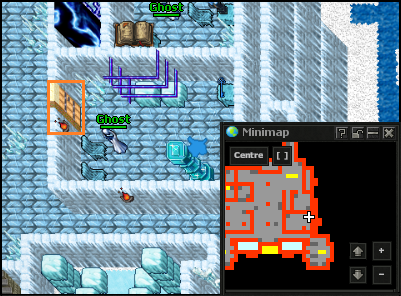
18) We are now able to destroy the barrier! We destroy it, and with it disappears the barrier by the lever shown in the picture. We run there and switch. The lever unlocks the double doors a floor below from Mordrag
19) Now back to Mordrag for another interview. We destroyed the barrier, moved the lever, what's next?!
Conversation:
| Player: | Hi |
| Mordrag: | Be greeted Player. |
| Player: | Barrier |
| Mordrag: | So the barrier isn't gone? ... |
| Mordrag: | Oh yeah, I forgot, it's got an extra safety feature ... |
| Mordrag: | To the south of my position and floor down there is a room where you have to place the energy fields and pull a lever ... |
| Mordrag: | Of course I have this rune, but if you waste it you will have to pay for the rest ... |
| Mordrag: | Unfortunately I am too old to remember the exact order of the fields so you have to try it yourself, good luck stranger! |
20) We get a small hint of where we need to go and one Energy Field Rune. Go down to a room with a double door and WE MUST remove with Destroy Field Rune 2 Energy Fields from the ground. Then we throw a square arranged with Energy Fields and switch a lever. Finally, we unlocked access to the Winter Queen herself.
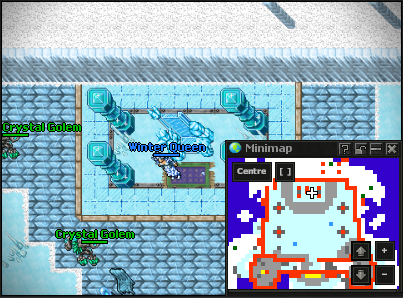
21) We run to meet the Winter Queen, after briefly clearing the area, I engage in a dialogue with her.
Conversation:
| Player: | Hi |
| Winter Queen: | Greet Player! What brings you to my ice tower?. |
| Player: | Mission |
| Winter Queen: | So I hear you desire the reward that sits atop my tower? ... |
| Winter Queen: | There is one thing that I have been interested in ever since I found out about it, I don't know the exact name but I know it's some kind of jewel ... |
| Winter Queen: | I heard that one of the people in Rookgaard has it ... |
| Winter Queen: | If you do me a favor and find it, I'll be happy to give you access to the reward ... |
| Winter Queen: | Are you interested in my proposal? |
| Player: | No |
| Winter Queen: | So we're not gonna make a deal because you're coward? ... |
| Player: | No |
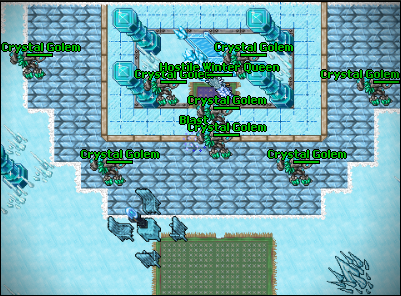
22) With this dialogue, you will enrage the Winter Queen, who will summon some Crystal Golem to help and become attackable. Take up the challenge and defeat her!
23) After dealing with her and her servants, talk to her. You will receive a rune from her, which you will need further.
Conversation:
| Player: | Hi |
| Winter Queen: | Greet Player! What brings you to my ice tower?. |
| Player: | Mission |
| Winter Queen: | Here, take it. |
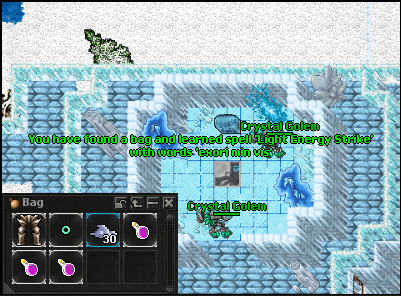
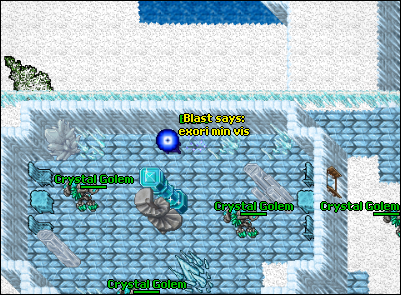
24) We now run upstairs to the main door with access and go through it, enter the floor above and click on the chest! BANG! WE GOT THIS! exori min vis spell!
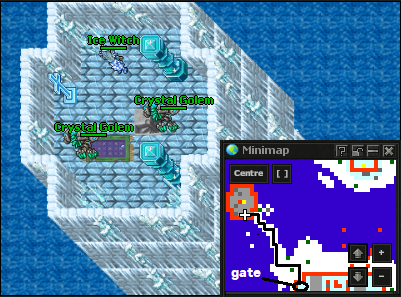
25) BONUS! We are now gaining access to the single Ice Witch. We take 3 ice cubes or parcels and set them up to enter the roof, where there is a magic wall. Destroy the magic wall using the rune that Winter Queen gave us and enter the teleport.
26) Ice island and access to Ice Witch unlocked! Bravo!
27) But we still have to return ;), the return route is very simple. We go from the left side of the castle to the hole and go through it, then enter the teleport and appear by the boat on the ice island, then return to the ship with Vampire, where there is a teleport at the top by the single Scorpion directing us to the area of Mino Hell.
28) Now use it everywhere, cause it deals decent damage and takes only 10 mana!
