Wyvern Nest Quest: Difference between revisions
No edit summary |
No edit summary |
||
| (5 intermediate revisions by the same user not shown) | |||
| Line 1: | Line 1: | ||
<b>Name:</b> [[Wyvern Nest Quest]].</br> | <b>Name:</b> [[Wyvern Nest Quest]].</br> | ||
<b>Location:</b> [[Rookgaard]].</br> | <b>Location:</b> [[Rookgaard]].</br> | ||
<b>Reward:</b> [[Light Energy Missile]] (adori vis) learning, [[Wyvern Fang]], [[Camouflage Backpack]], [[Ring of Healing]], [[Light Armor]], 3 [[Mana Fluid]]s, 3 [[Light Energy Missile Rune]].<br> | <b>Reward:</b> [[Light Energy Missile]] (adori vis) and [[Light Haste]] (utani) learning, [[Wyvern Fang]], [[Camouflage Backpack]], [[Ring of Healing]], [[Light Armor]], 3 [[Mana Fluid]]s, 3 [[Light Energy Missile Rune]].<br> | ||
<b>Monsters:</b> [[Spider]] [[Bug]], [[Snake]].</br> | <b>Monsters:</b> [[Spider]] [[Bug]], [[Snake]].</br> | ||
| Line 16: | Line 16: | ||
*[[File:Arrow.png]] [[Arrow]]<br> | *[[File:Arrow.png]] [[Arrow]]<br> | ||
*[[File:Closed Trap.png]] [[Closed Trap]]<br> | *[[File:Closed Trap.png]] [[Closed Trap]]<br> | ||
---- | |||
1) Hello brave rookslayer! Today we will get one of the two most powerful things on rookgaard.<br> | 1) Hello brave rookslayer! Today we will get one of the two most powerful things on rookgaard.<br> | ||
| Line 23: | Line 25: | ||
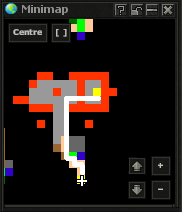
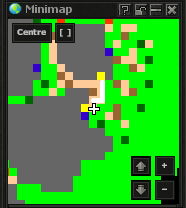
[[File: lem1.png]] | [[File: lem1.png]] | ||
[[File: lem2.png]] | [[File: lem2.png]] | ||
---- | |||
2) We meet an elven ally who will allow us to enter the next stage of the quest if we get rid of 200 [[Leaf Golem]]s. | 2) We meet an elven ally who will allow us to enter the next stage of the quest if we get rid of 200 [[Leaf Golem]]s. | ||
| Line 44: | Line 48: | ||
| style="vertical-align:middle; background-color:#4C4C4C; font-weight:normal;" | This place is teeming with Golems that make my life very difficult ... | | style="vertical-align:middle; background-color:#4C4C4C; font-weight:normal;" | This place is teeming with Golems that make my life very difficult ... | ||
|- | |- | ||
| style="font-weight: normal;" | [[Ellisar]: | | style="font-weight: normal;" | [[Ellisar]]: | ||
| style="vertical-align:middle; background-color:#4C4C4C; font-weight:normal;" | I would like you to get rid of some of them ... | | style="vertical-align:middle; background-color:#4C4C4C; font-weight:normal;" | I would like you to get rid of some of them ... | ||
|- | |- | ||
| Line 78: | Line 82: | ||
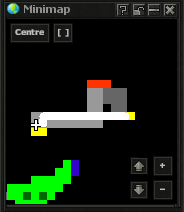
[[File: lem3.png]] | [[File: lem3.png]] | ||
---- | |||
3) It may take a while, but once you've dealt with them, return to him to gain access through a further door. | 3) It may take a while, but once you've dealt with them, return to him to gain access through a further door. | ||
| Line 96: | Line 102: | ||
[[File: lem4.png]] | [[File: lem4.png]] | ||
---- | |||
4) Then we go to the place with the gray sqm. | 4) Then we go to the place with the gray sqm. | ||
| Line 101: | Line 109: | ||
[[File: lem5.png]] | [[File: lem5.png]] | ||
[[File: lem6.png]] | [[File: lem6.png]] | ||
---- | |||
5) It is the place where the ritual is performed. We must kill one of the [[Leaf Golem]] on the designated sqm. | 5) It is the place where the ritual is performed. We must kill one of the [[Leaf Golem]] on the designated sqm. | ||
| Line 106: | Line 116: | ||
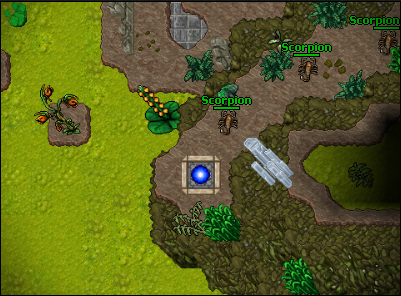
[[File: lem7.png]] | [[File: lem7.png]] | ||
[[File: lem8.png]] | [[File: lem8.png]] | ||
---- | |||
6) Performing the ritual will cause one of the obstacles in our path to disappear. | 6) Performing the ritual will cause one of the obstacles in our path to disappear. | ||
| Line 111: | Line 123: | ||
[[File: lem9.png]] | [[File: lem9.png]] | ||
[[File: lem10.png]] | [[File: lem10.png]] | ||
---- | |||
7) After doing so, return lightly and climb the stairs, where several strong monsters await you. | 7) After doing so, return lightly and climb the stairs, where several strong monsters await you. | ||
[[File: lem11.png]] | [[File: lem11.png]] | ||
---- | |||
8) We kill them or just focus on moving the lever. | 8) We kill them or just focus on moving the lever. | ||
| Line 120: | Line 136: | ||
[[File: lem12.png]] | [[File: lem12.png]] | ||
[[File: lem13.png]] | [[File: lem13.png]] | ||
---- | |||
9) The lever removes another obstacle in our way, so we can continue the adventure without stopping. | 9) The lever removes another obstacle in our way, so we can continue the adventure without stopping. | ||
| Line 125: | Line 143: | ||
[[File: lem14.png]] | [[File: lem14.png]] | ||
[[File: lem15.png]] | [[File: lem15.png]] | ||
---- | |||
10) Do not stop, follow the designated path! | 10) Do not stop, follow the designated path! | ||
| Line 133: | Line 153: | ||
[[File: lem19.png]] | [[File: lem19.png]] | ||
[[File: lem20.png]] | [[File: lem20.png]] | ||
---- | |||
11) We reach the final point of the expedition! Behind the teleport, the battle of attrition will begin. REMEMBER! YOU MUST KILL ALL THE MONSTERS BEFORE YOU CAN USE THE LEVER! NOT A SINGLE ONE CAN BE ALIVE! | 11) We reach the final point of the expedition! Behind the teleport, the battle of attrition will begin. REMEMBER! YOU MUST KILL ALL THE MONSTERS BEFORE YOU CAN USE THE LEVER! NOT A SINGLE ONE CAN BE ALIVE! | ||
| Line 138: | Line 160: | ||
[[File: lem21.png]] | [[File: lem21.png]] | ||
[[File: lem22.png]] | [[File: lem22.png]] | ||
---- | |||
12) After defeating them, you can move the lever that will unlock our rewards! :) | 12) After defeating them, you can move the lever that will unlock our rewards! :) | ||
[[File: lem23.png]] | [[File: lem23.png]] | ||
---- | |||
13) Great! Now you own one of the two most powerful offensive things on the rookgaard. Use them wisely | 13) Great! Now you own one of the two most powerful offensive things on the rookgaard. Use them wisely | ||
Latest revision as of 14:11, 16 January 2025
Name: Wyvern Nest Quest.
Location: Rookgaard.
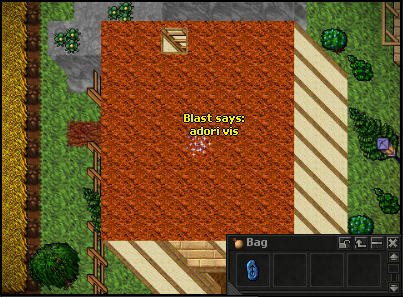
Reward: Light Energy Missile (adori vis) and Light Haste (utani) learning, Wyvern Fang, Camouflage Backpack, Ring of Healing, Light Armor, 3 Mana Fluids, 3 Light Energy Missile Rune.
Monsters: Spider Bug, Snake.
Spoiler:
Requirements:
- Level 50
- Orc Castle Quest
- Ape Island Quest
 Rope
Rope Life Fluid
 Destroy Field Rune
 Antidote Rune
 Bow
Bow Arrow
Arrow Closed Trap
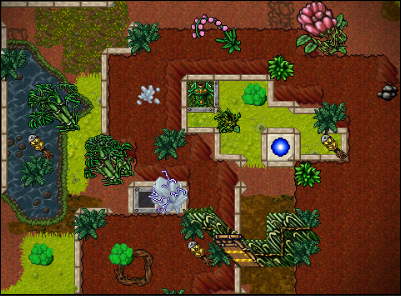
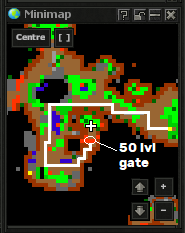
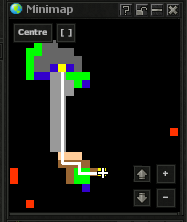
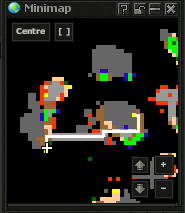
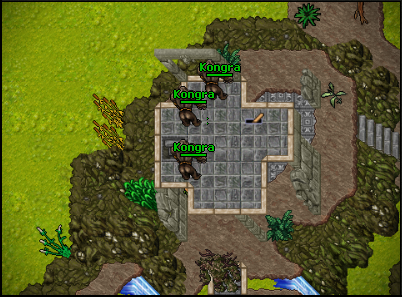
1) Hello brave rookslayer! Today we will get one of the two most powerful things on rookgaard.
In order to get behind the teleport after Light Energy Missile Rune. we must have access to the undergrounds from Orc Castle Quest and permission to go through the door after defeating King Kong from Ape Island Quest.
If we meet both criteria, we go down through the door and head to the door behind which lies Dragon Scale Mail.
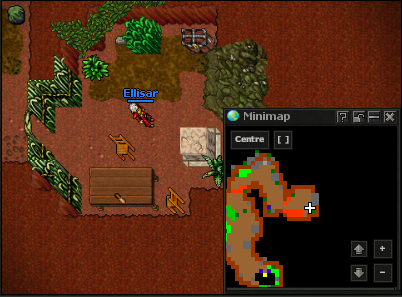
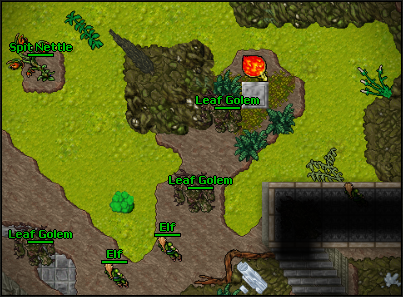
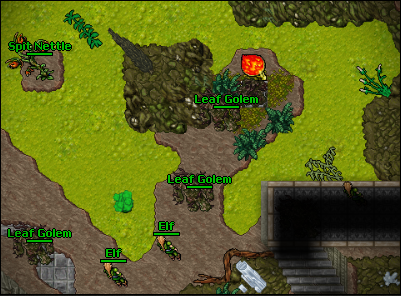
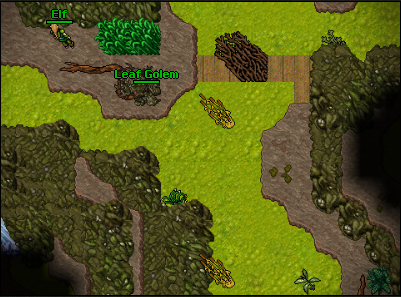
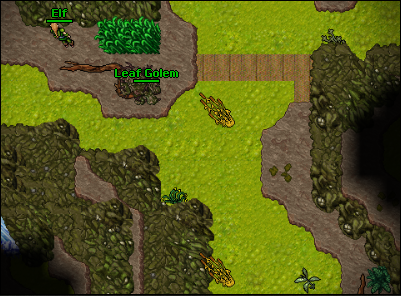
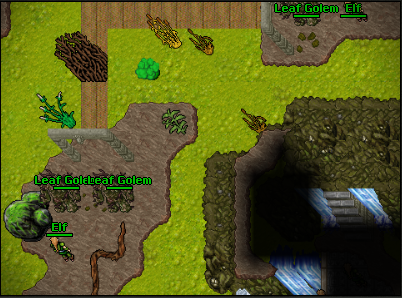
2) We meet an elven ally who will allow us to enter the next stage of the quest if we get rid of 200 Leaf Golems.
Conversation:
| Player: | Hi |
| Ellisar: | Welcome to the swamplands, Player! |
| Player: | Task |
| Ellisar: | Yes, I have a task for you .... |
| Ellisar: | This place is teeming with Golems that make my life very difficult ... |
| Ellisar: | I would like you to get rid of some of them ... |
| Ellisar: | Kill 200 Leaf Golems and I will let you move on, can you do this for me? |
| Player: | Yes |
| Ellisar: | Alright, come back to me when you are done. |
Now we have to somehow get back to where we were before enter the teleport!
Conversation:
| Player: | Hi |
| Player: | Back |
| Ellisar: | You want me to teleport you out of this place? |
| Player: | Yes |
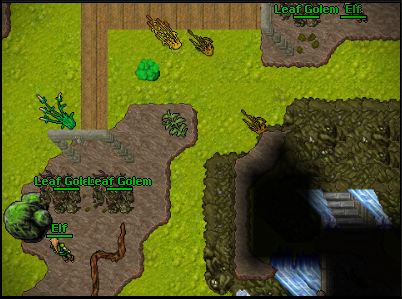
3) It may take a while, but once you've dealt with them, return to him to gain access through a further door.
Conversation:
| Player: | Hi |
| Player: | Task |
| Ellisar: | Yes that was the point, I have more space, thank you. |
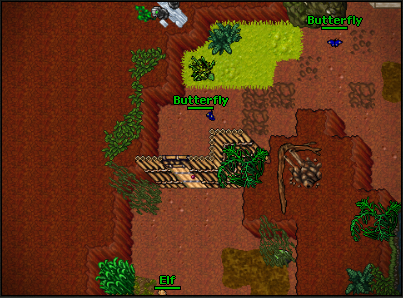
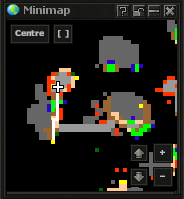
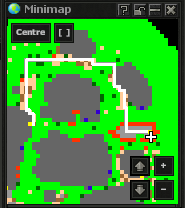
4) Then we go to the place with the gray sqm.
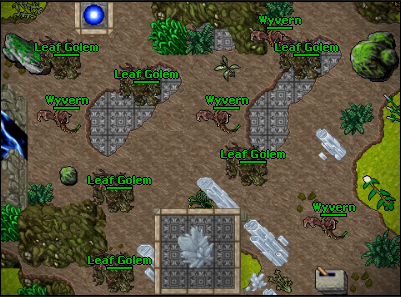
5) It is the place where the ritual is performed. We must kill one of the Leaf Golem on the designated sqm.
6) Performing the ritual will cause one of the obstacles in our path to disappear.
7) After doing so, return lightly and climb the stairs, where several strong monsters await you.
8) We kill them or just focus on moving the lever.
9) The lever removes another obstacle in our way, so we can continue the adventure without stopping.
10) Do not stop, follow the designated path!
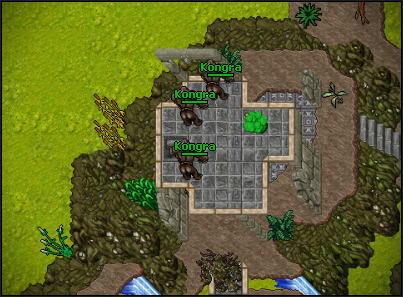
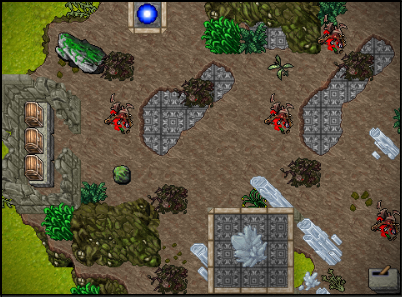
11) We reach the final point of the expedition! Behind the teleport, the battle of attrition will begin. REMEMBER! YOU MUST KILL ALL THE MONSTERS BEFORE YOU CAN USE THE LEVER! NOT A SINGLE ONE CAN BE ALIVE!
12) After defeating them, you can move the lever that will unlock our rewards! :)
13) Great! Now you own one of the two most powerful offensive things on the rookgaard. Use them wisely
